I’m going to my first Burning Man this year!
Well, I don’t technically have a ticket but I am going, dammit.
🥺 // Calling for Help
If you know of a Burning Man 2022 ticket for sale… please let me know!
Bringing a bike is critical to having a successful experience on the Playa. It’s also critical that your bike be unique so that you can identify it from the thousands of other bikes that are out there. Most importantly, it should be fun!
I’m excited to be working on this project & thought that I would share my progress as I decorate and light my bike up. Maybe others will find some useful tips within this series of posts.
The Bike
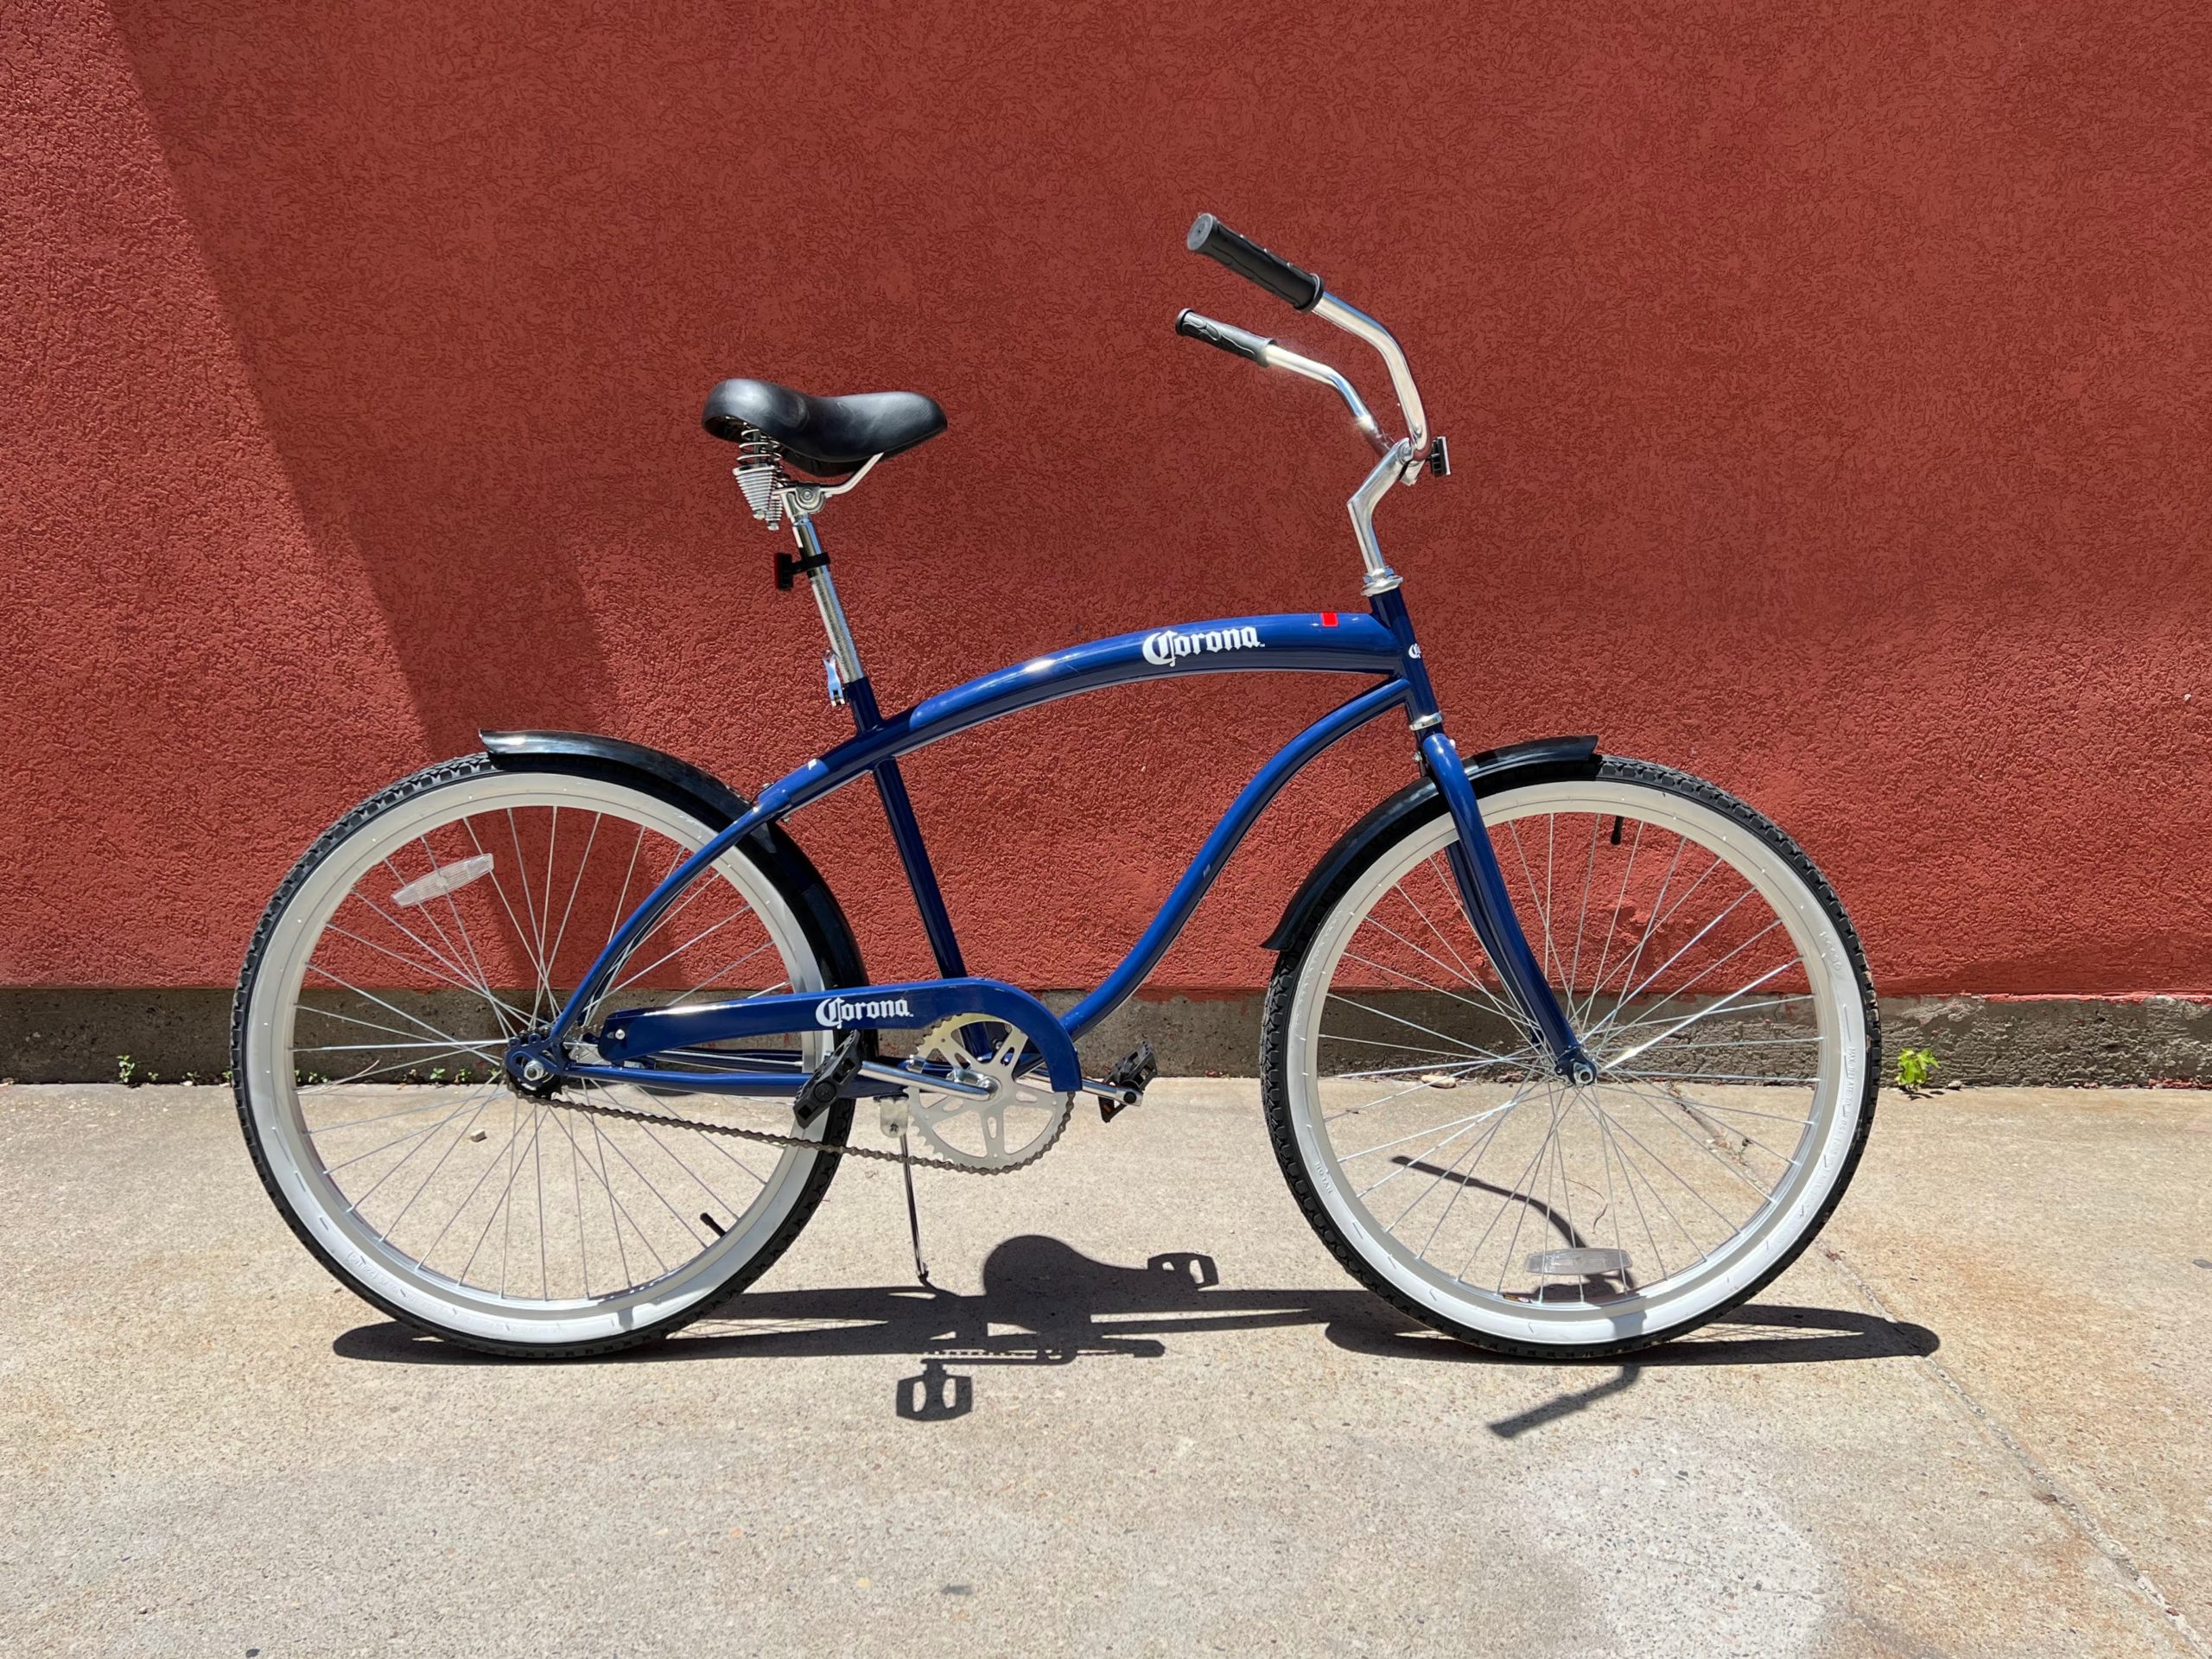
My friends have told me that a beach cruiser is an ideal type of bike for Burning Man. Not only is the Playa flat, obviating the need for gears, but Playa dust is terrible for all things metal or with moving parts.
So I found this beach cruiser on Facebook Marketplace for $100!
Preparation & Design
Design Objective
My goal is to turn this bike into a fluffy creature with gigantic googly eyes on it — like a Muppet. I was inspired by this quote from The Big Lez Show on YouTube:
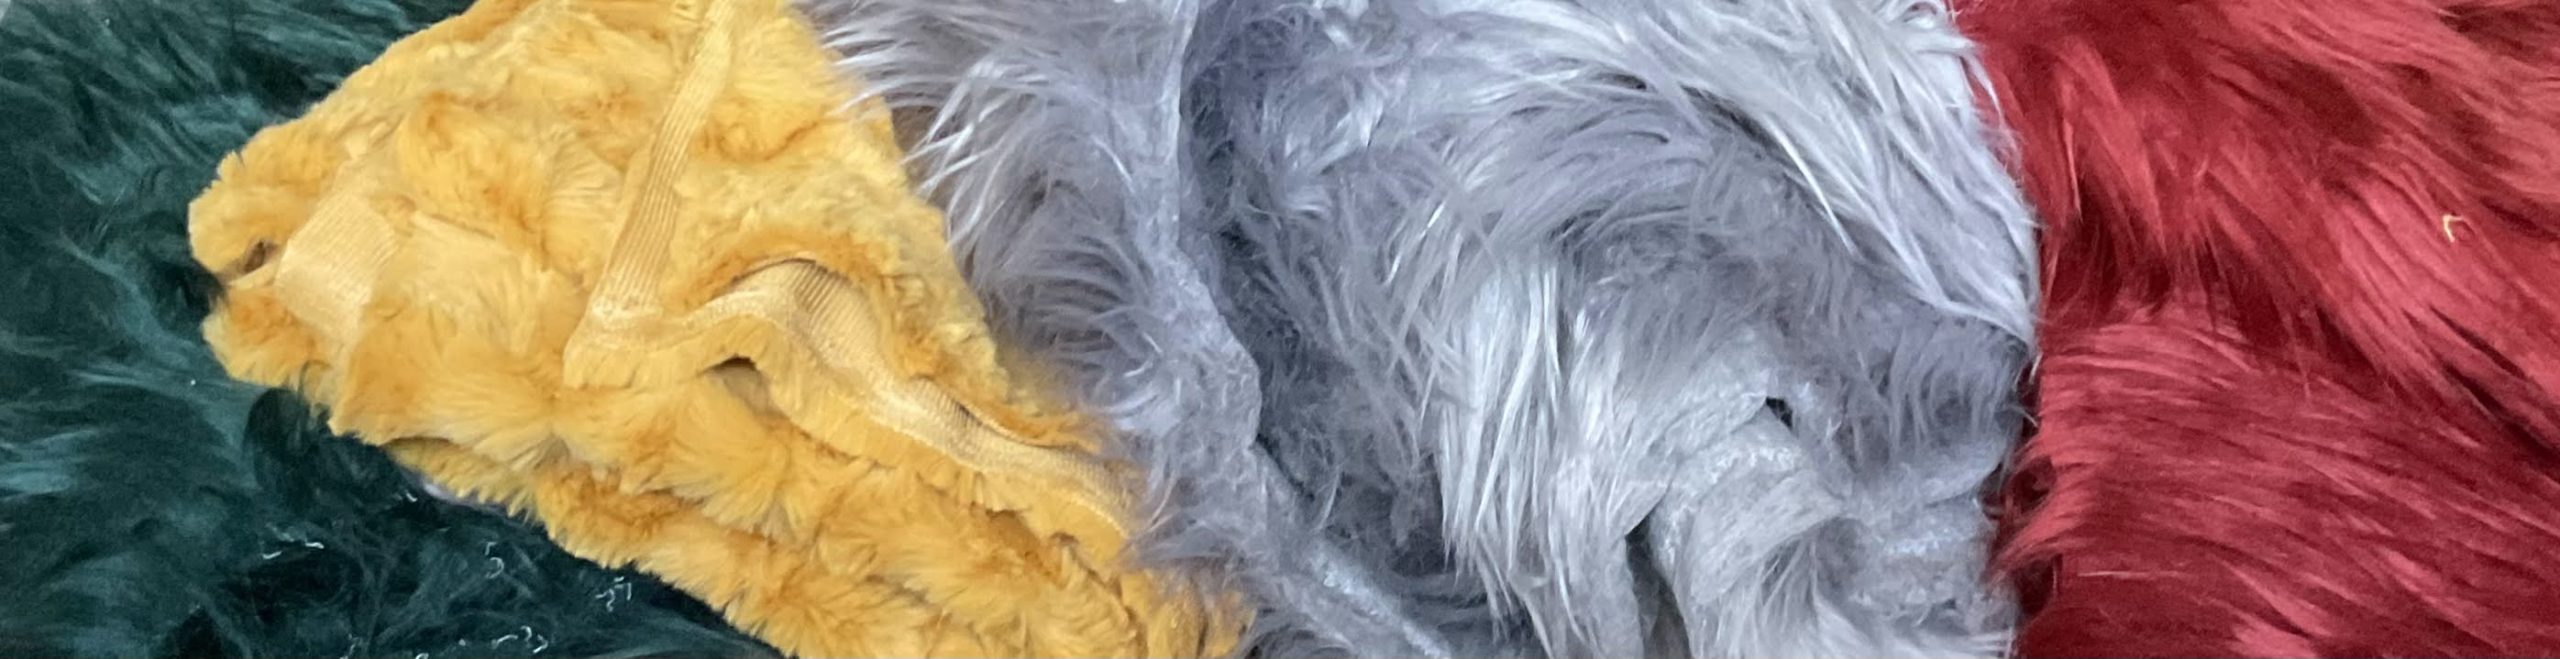
So I went to Joann’s Fabric and picked out a collection of really awesome fur fabric… as well as all the tools I thought I might need.
I also want to deck this thing out in crazy lights that I will be programming using components from Adafruit. I’m still working on the details for that… for now, I bought a soldering iron kit and I’m waiting for some components to arrive from Adafruit. I’ll detail this portion in another post.
Muppet Supplies
- Fur fabric
- Giant googly eyes
- Needles for sewing leather
- Thick cordage
- Massive safety pins
- E6000 glue
- Thin wire
ℹ️ // Glue on the Playa
Many people choose to use hot glue for these projects, but I’m choosing to use E6000 glue.
E6000 is an industrial-grade strength adhesive & isn’t prone to melt in the sun like some folks online have said can happen
Many people do use hot glue, however — this was a personal choice. Up to you!
Sketching the Design
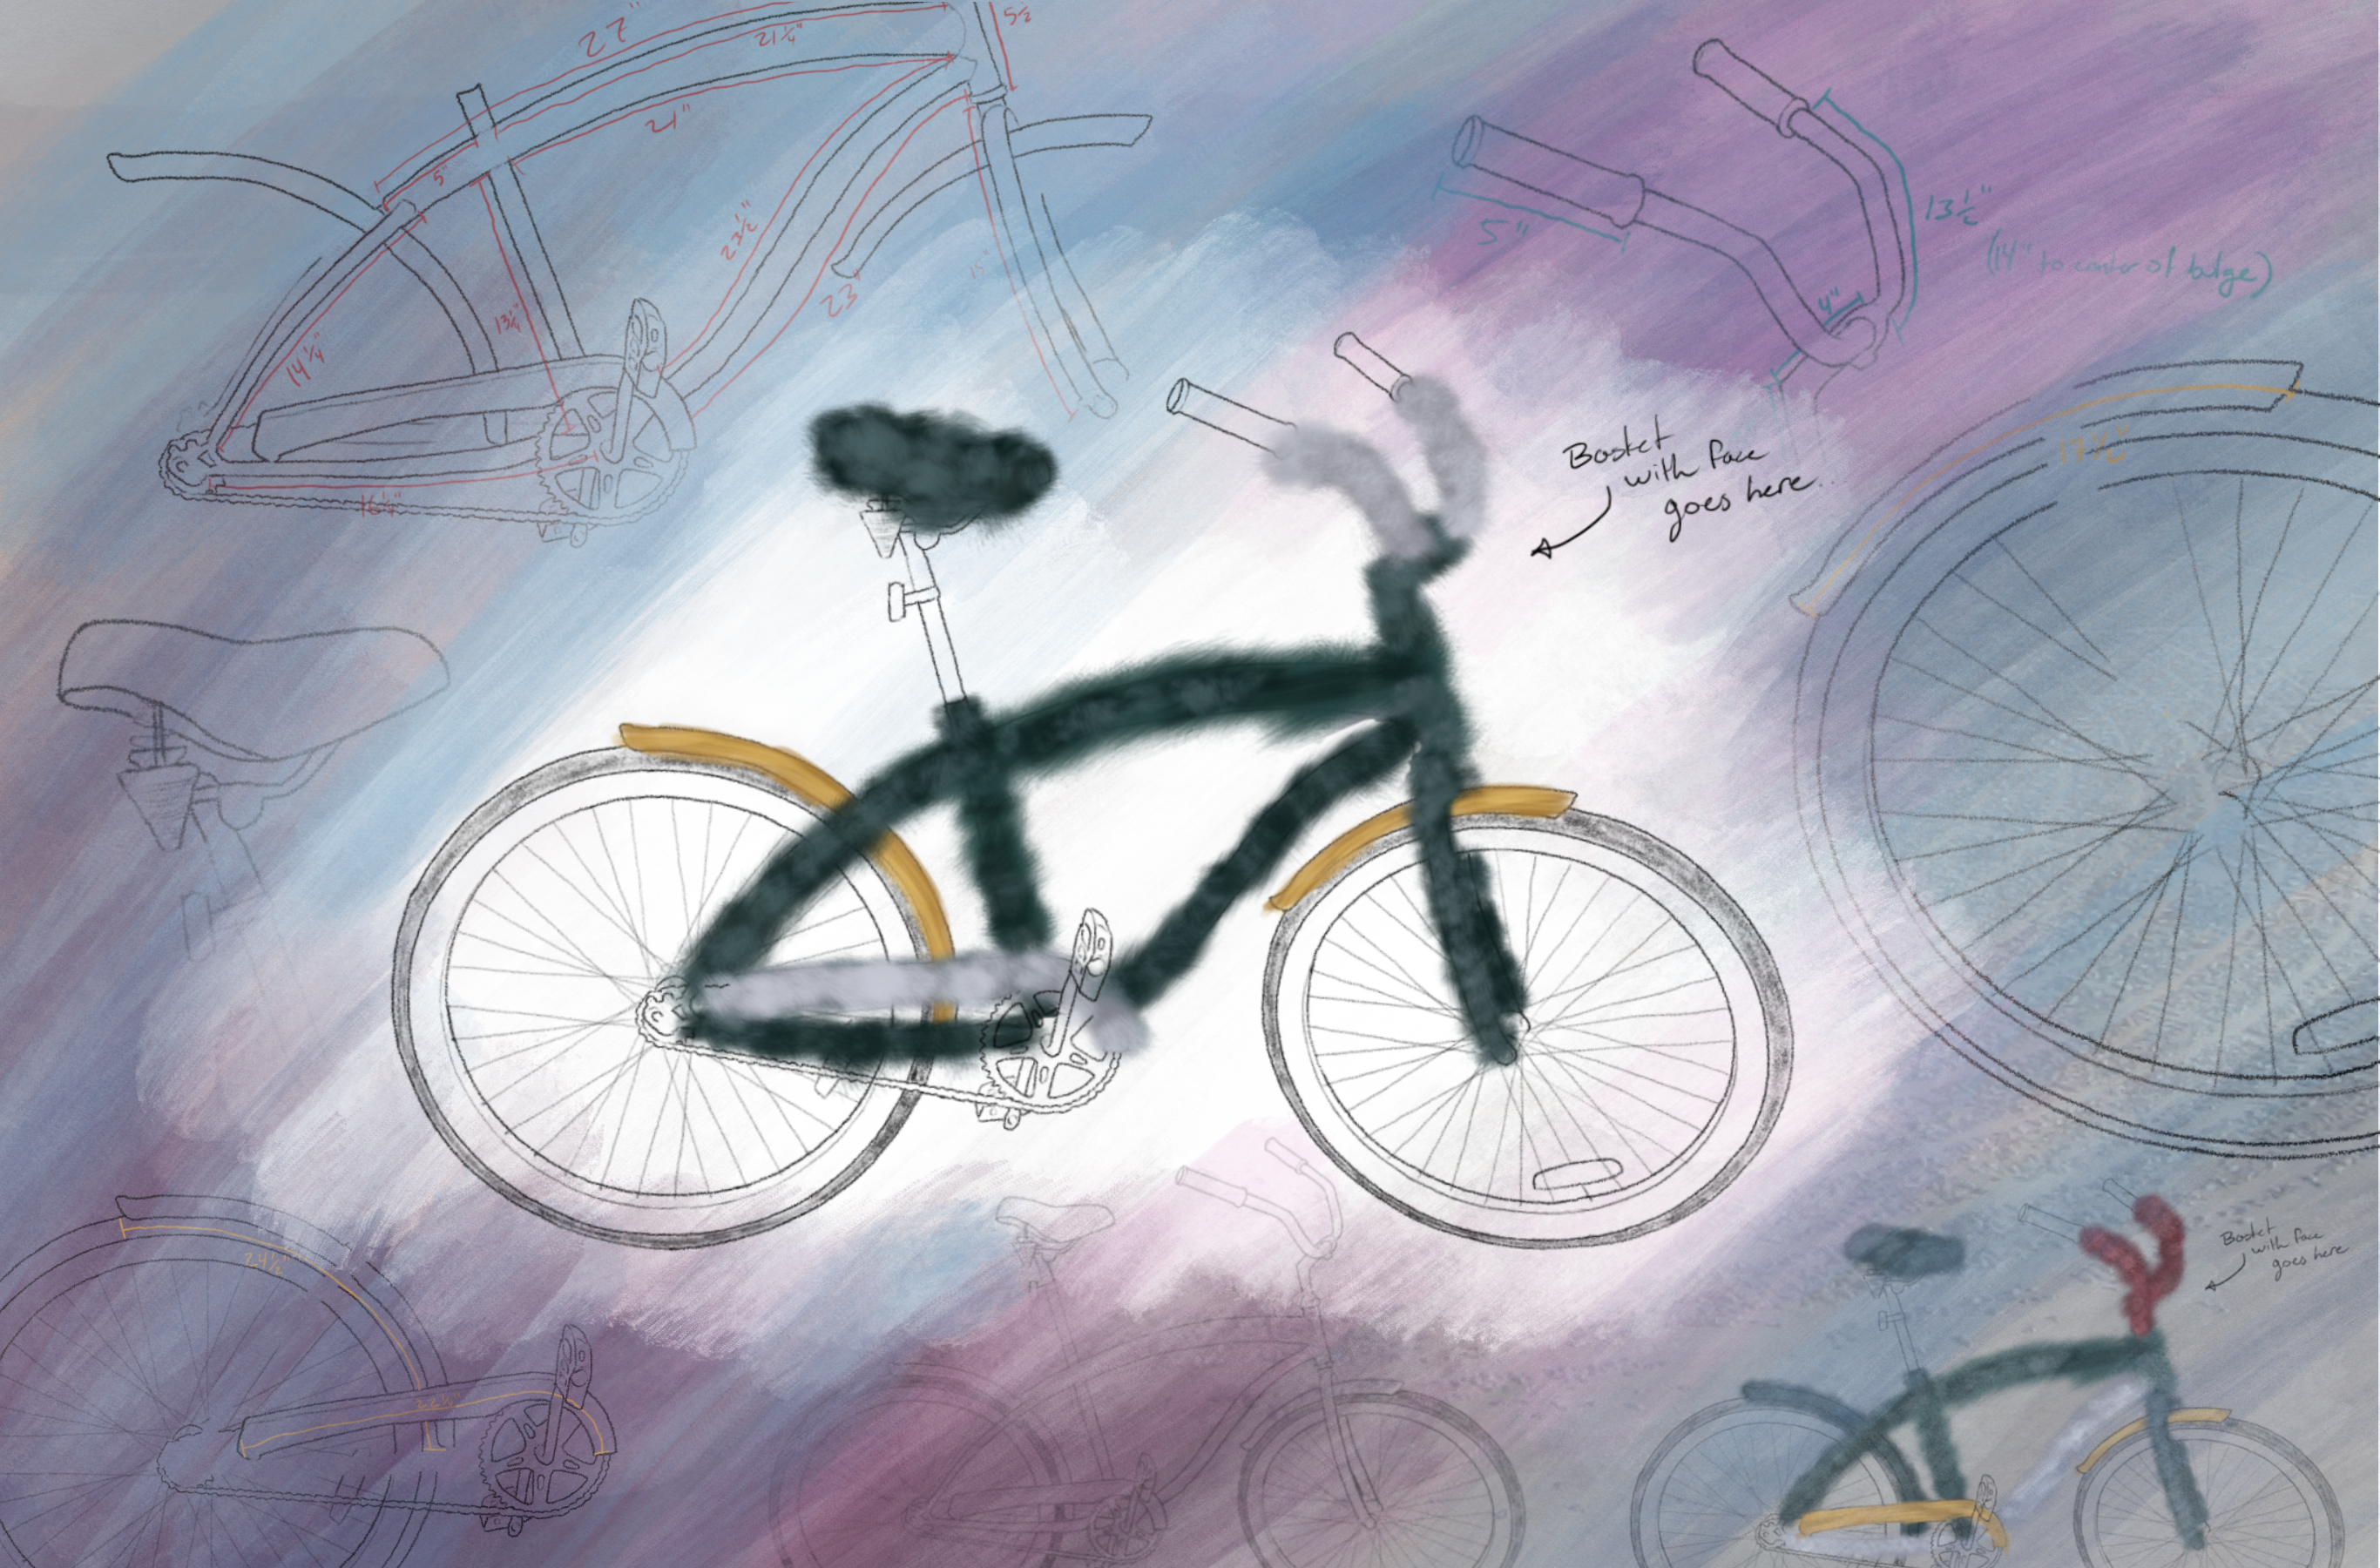
I started out with a sketch of the bike — something I should have done before purchasing a bunch of fabric…
My first iteration looked cool, but I realized that the red fur + the green/cyan color I chose is giving too much “Christmas” for what I want…

Playing around with it a little more, I came to something I like:
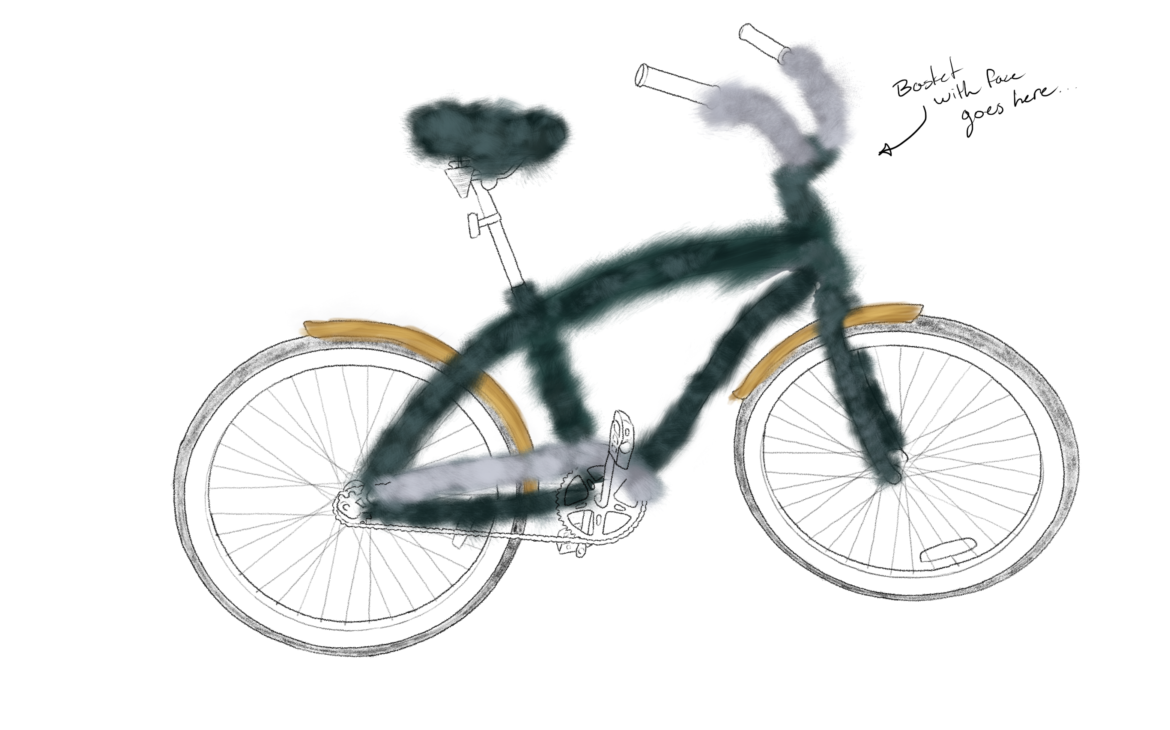
I don’t have my basket yet, so that’s not included in the sketch. I plan to use the same blue/green fur on the outside of the basket with the yellow inside. I also plan to put some absolutely massive googly eyes on it to pull together the Muppet-bike-creature look I’m shooting for. It’s going to be fun!
It’s got facken googly eyes on it mate
Birthing My Muppet
‼️ // MOOP Alert
I advise doing all of your fur cutting inside. The edges shed like wild when cut, and faux fur is a form microplastic. No MOOP for this project!

Have a vacuum on-hand for clean up.
❌ // Proceed Carefully
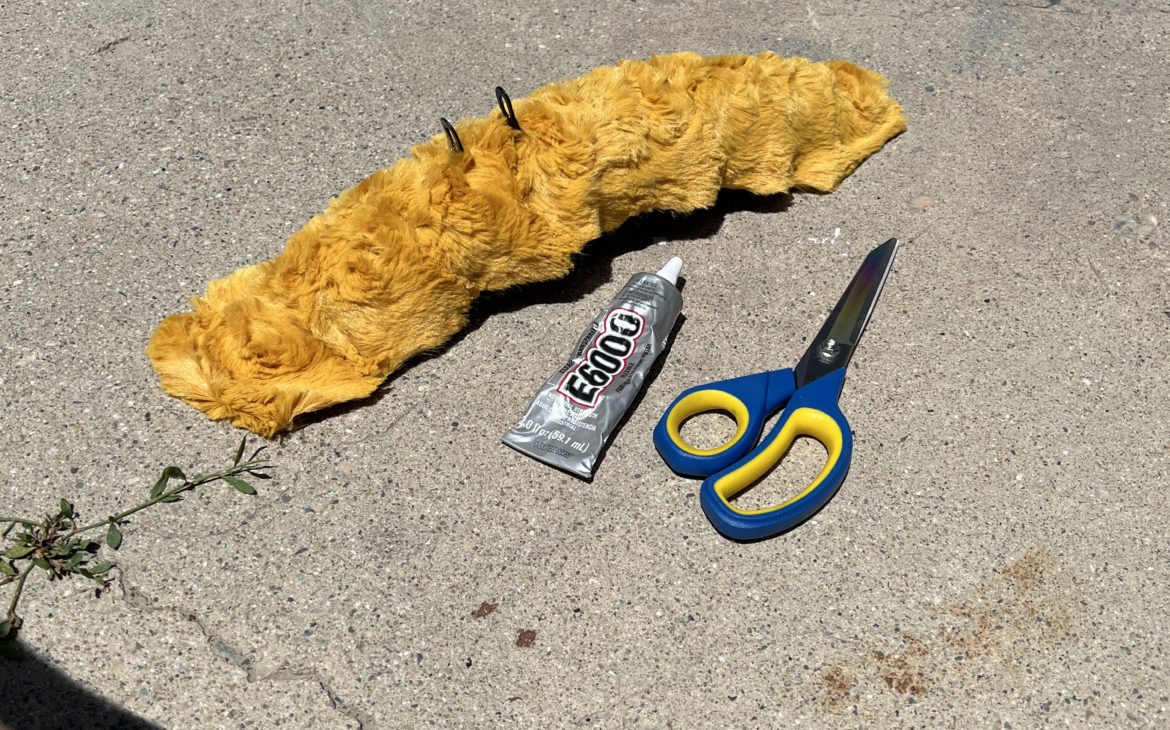
E6000 glue is toxic! The bottle indicates that the fumes may be known to cause cancer. Use the glue in a well-ventilated area… like outside.
Time to start stickin’!
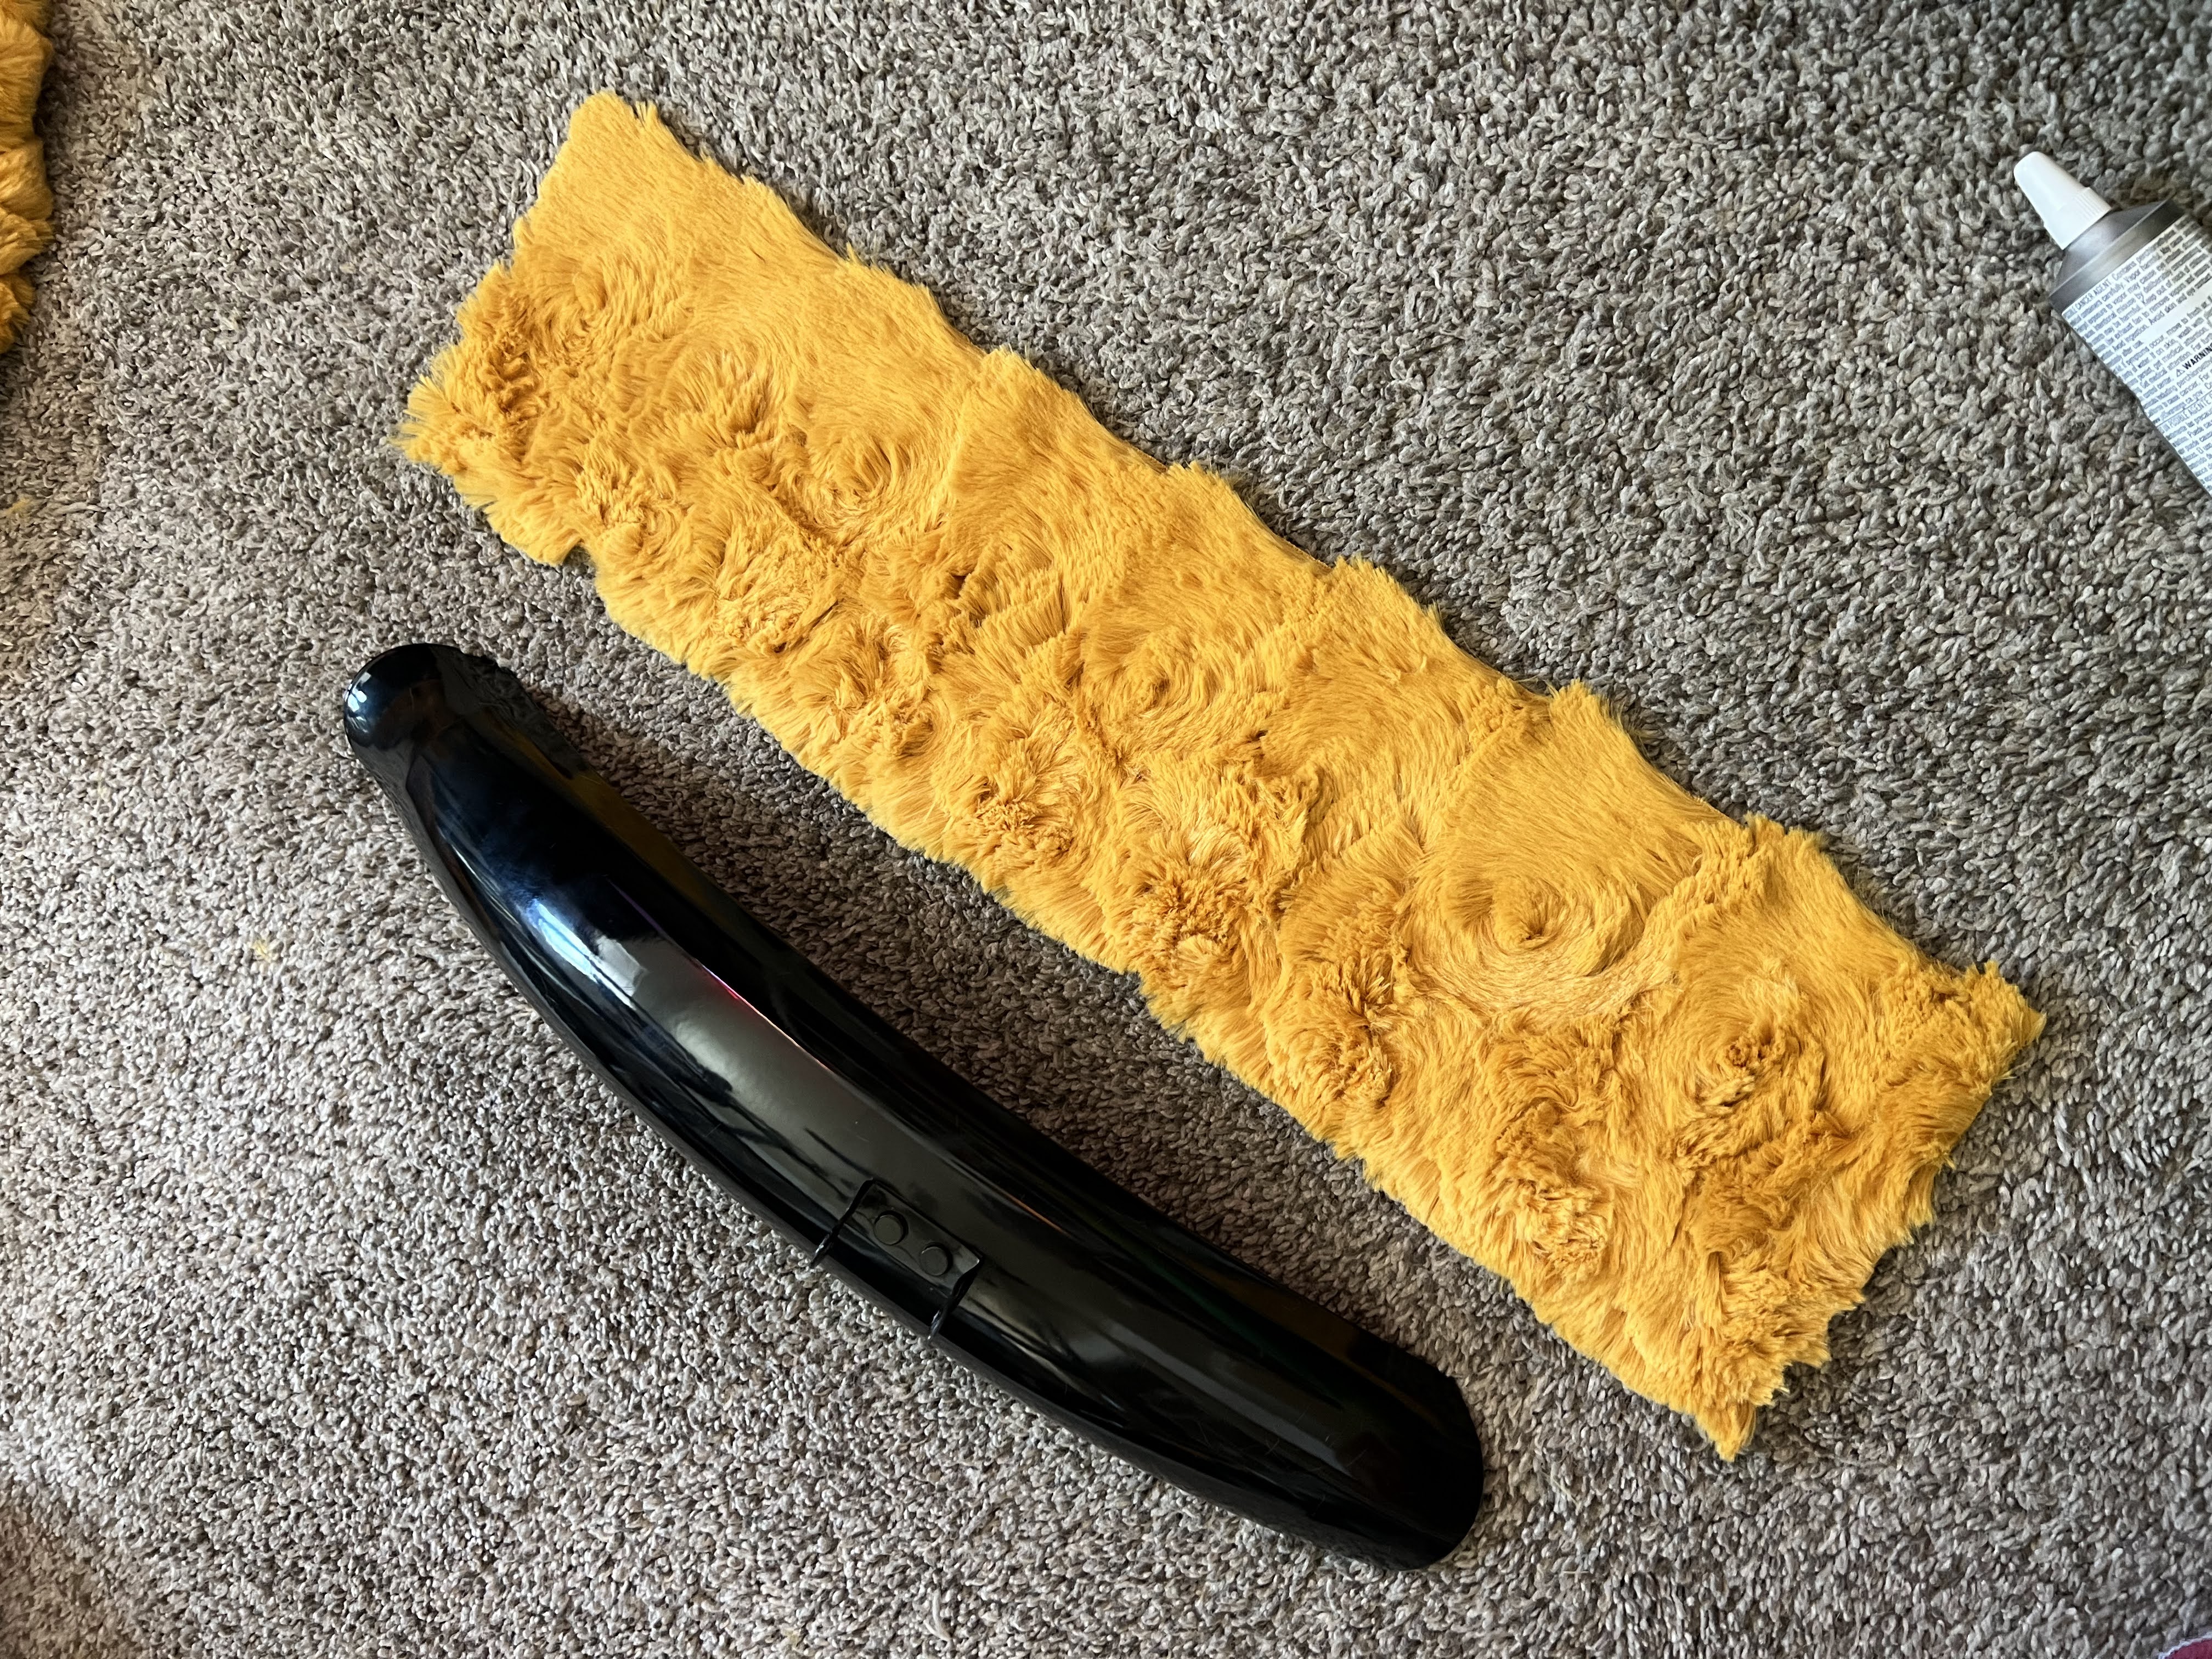
I decided to start work on the bike by covering the bike fenders in the yellow/gold fur. These seemed small and like the least complicated to work with.
Once I cut a piece of the right size, I headed outside to start glueing!
To attach the fabric, I glued it to one end of the fender and let it dry for a few minutes. This was useful as an anchor for the rest. From there, I drizzled lines of glue down the middle and on the sides of the top of the fender, and pulled the fabric down to adhere it.
Once it dried for a few minutes, I flipped the fender over to fold and glue down the edges of the fabric.
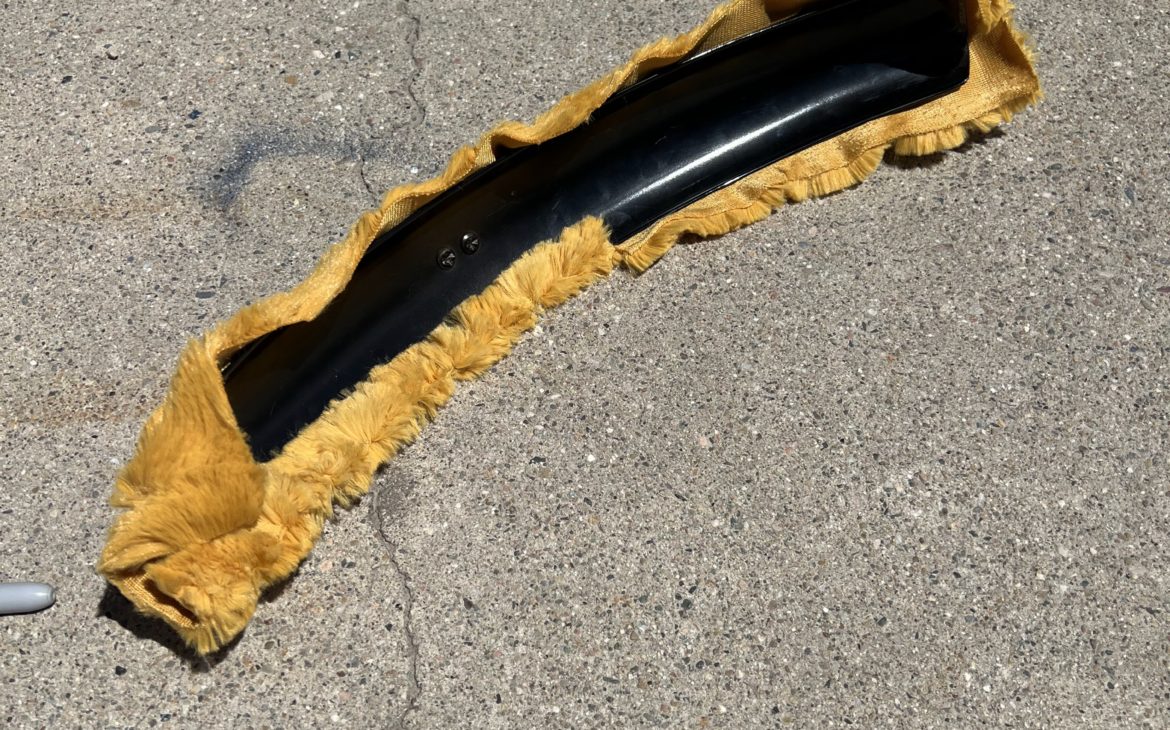
That’s it! Now I let it dry for 24-72 hours to really seal the deal.
I must say I believe I’ve created the cutest fender to ever exist!
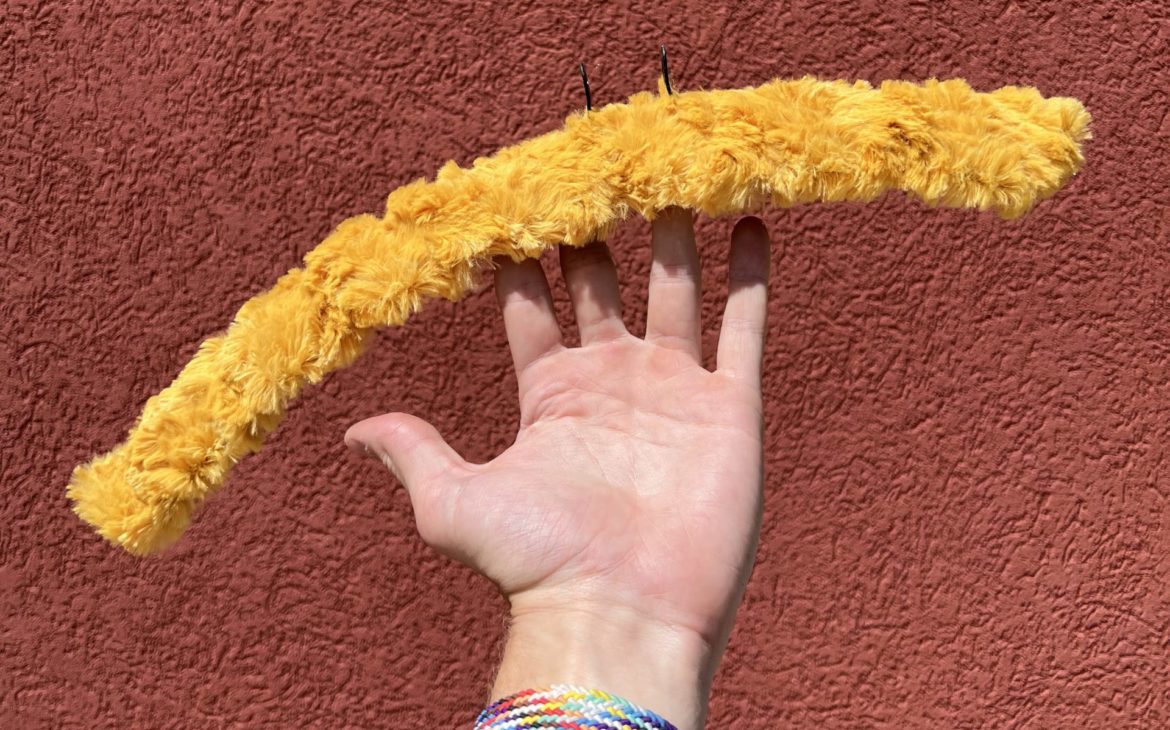


I can’t wait to see how the rest comes together. Time to get back to work!