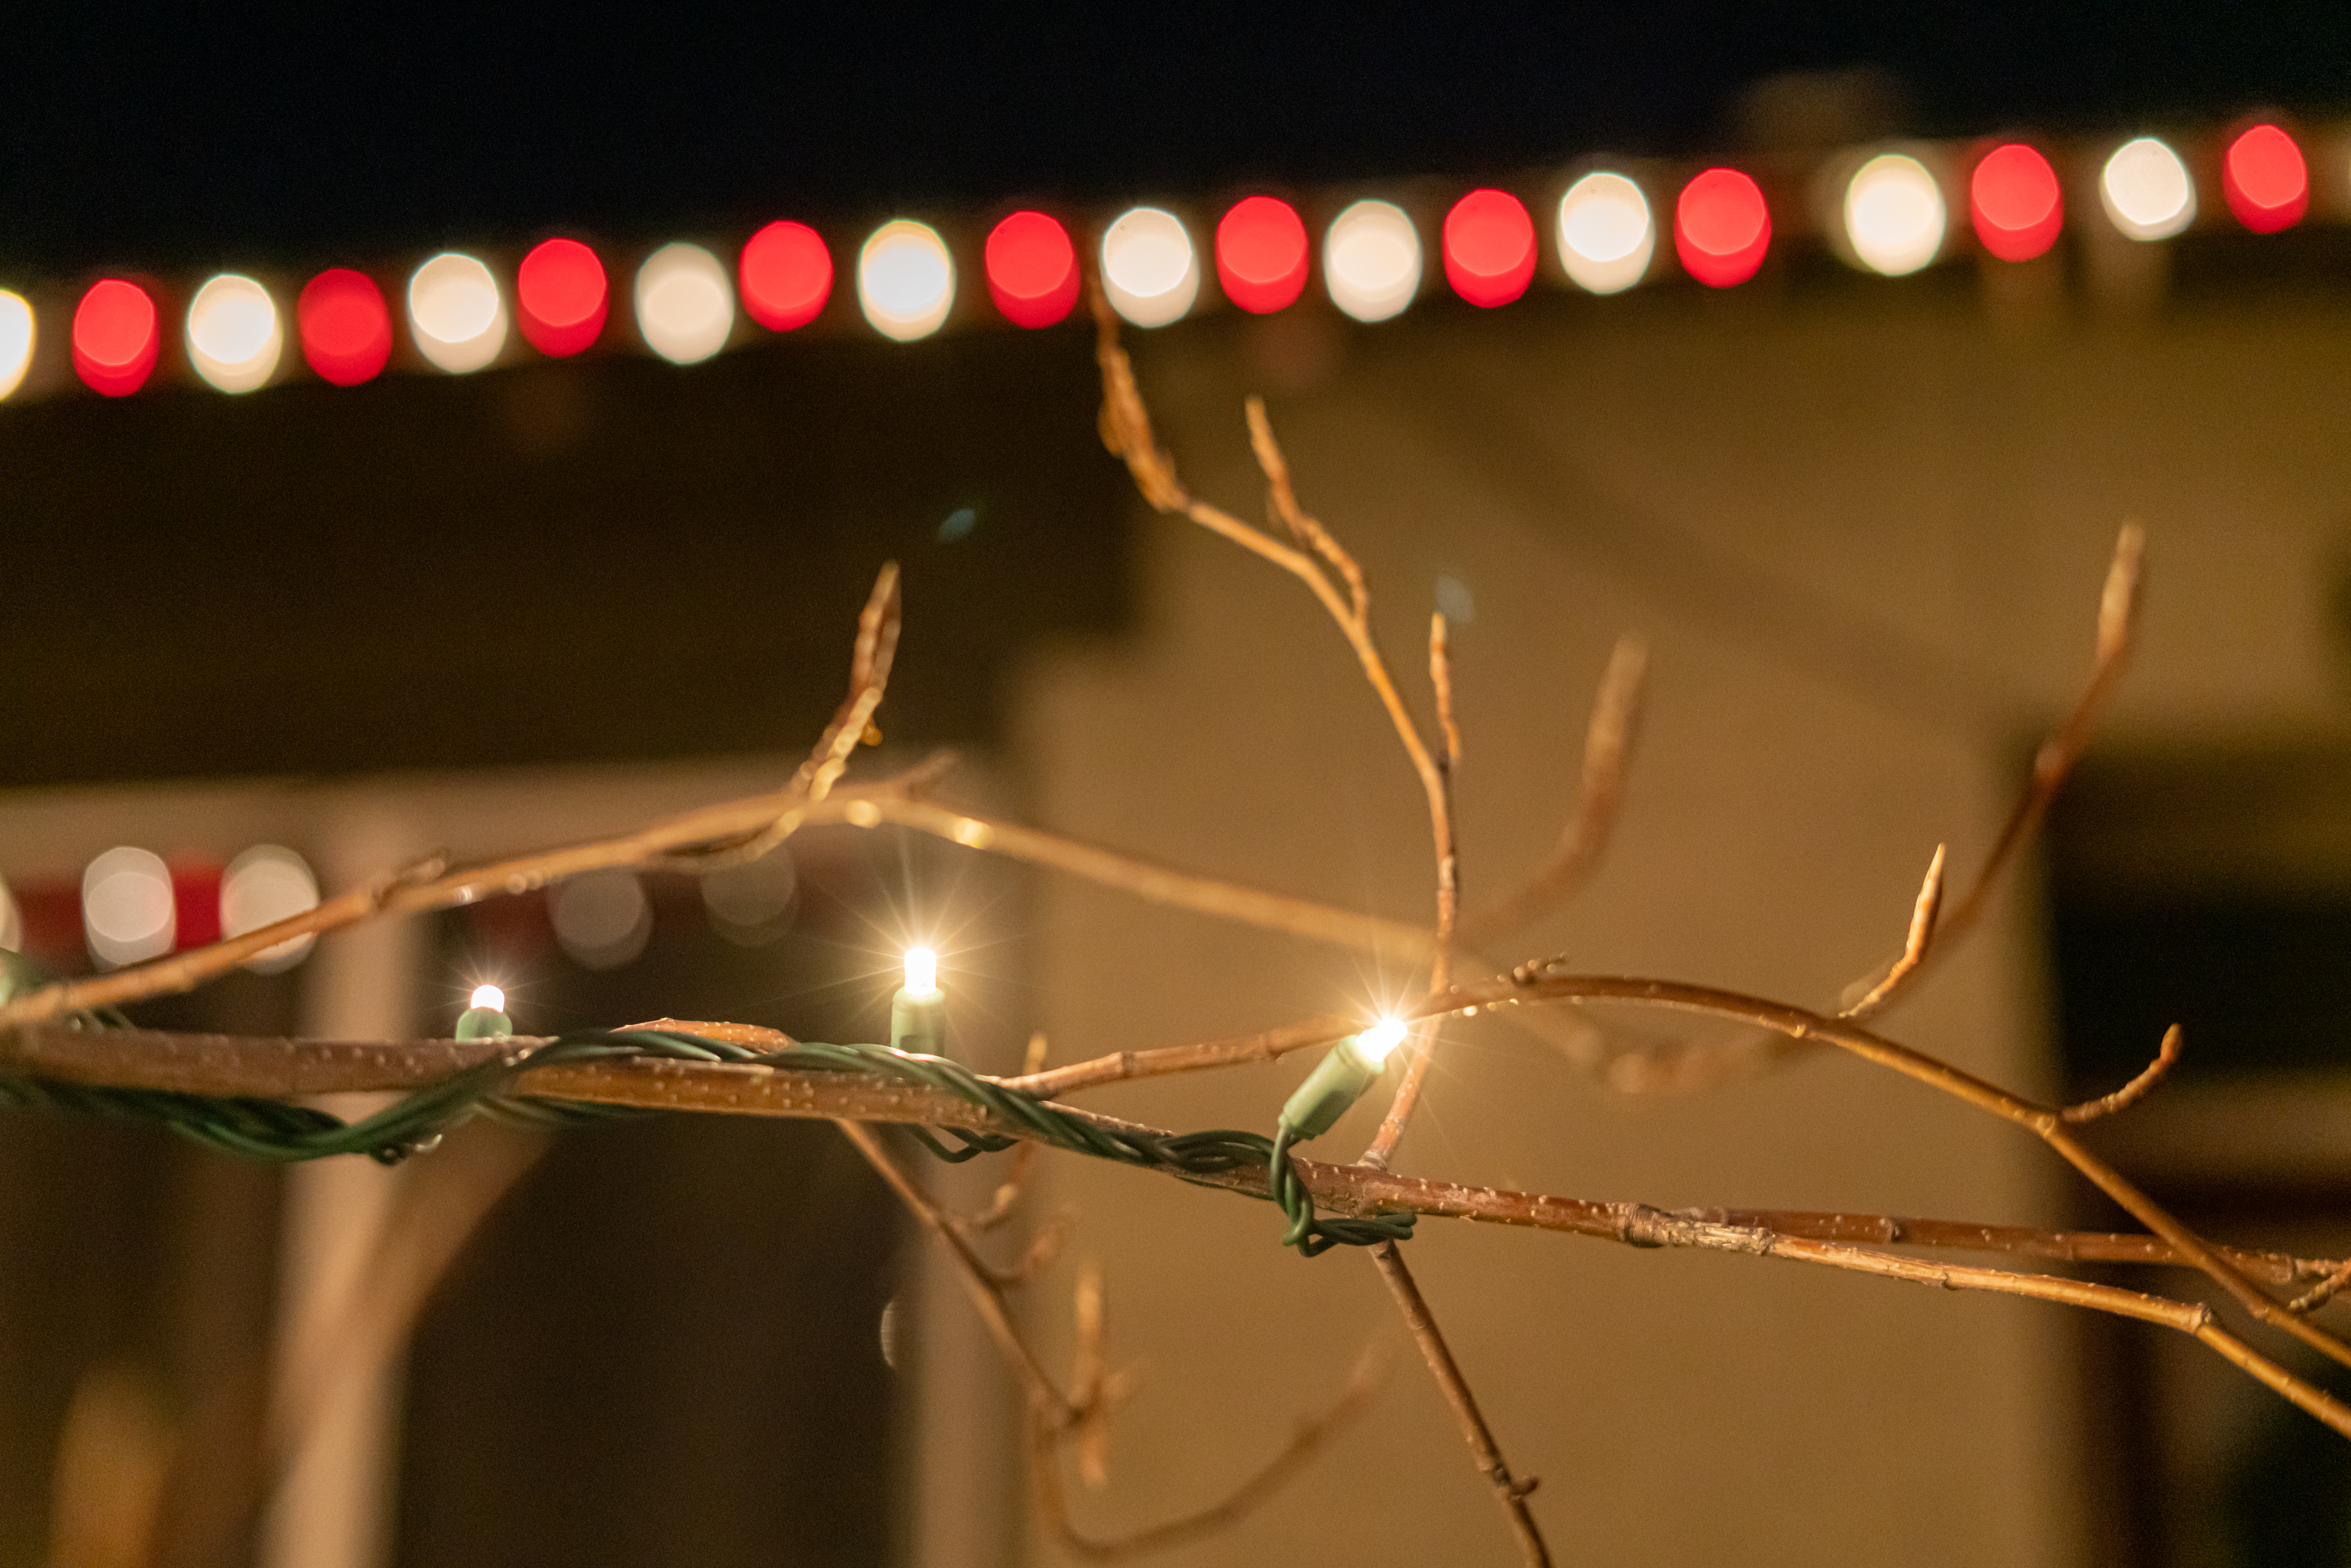
Remembering to go plug in and unplug your Christmas lights every day turns into a bit of a chore, especially when there’s snow on the ground.
Using a couple of WiFi connected outdoor smart plugs, Home Assistant makes it easy to automate your lights based on the sun and time of day.
This guide covers how I automated my Christmas lights to react to the sun. Use the Table of Contents on the right to jump to specific sections of this tutorial.
Materials
This how-to article is focused on automating outdoor Christmas lights using Home Assistant, but it can be used to automate any devices or services based on time and the position of the sun.
The following is a list of what I used in my project. Adapt as necessary.
- A server running Home Assistant (I recommend the Raspberry Pi 3 or later)
- TP-Link Kasa Outdoor Smart Plugs
- Christmas lights
Heads Up
When scoping out smart switches, plugs, and other equipment, make sure to buy items compatible with Home Assistant.
Getting Started
Set Up the Smart Plugs

Since I am using the TP-Link Kasa Outdoor Smart Plugs, I needed to download the Kasa app to get them set up.
- Download the Kasa app from your app store.
- Set up an account.
- Plug in your smart plugs.
- Tap the “+” icon in the top right corner.
- Name each plug. I chose to keep each name the same plus a number. This allows me to easily identify them in Home Assistant.
Tip
Integrate Kasa with your preferred voice assistant. I use Google Assistant. By naming all the plugs the same thing, I can ask the Assistant to “turn on the string lights” and it treats all three plugs as one.
Add the Plugs to Home Assistant
Now you’ll want to add the Kasa smart plugs to Home Assistant
- In the Home Assistant sidebar, navigate to Configuration → Integrations
- Tap the orange “Add Integration” button in the bottom right.
- Search for “TP-Link Kasa Smart” (or the integration for your specific device) and then sign in.
Home Assistant will now create Devices and Entities for anything associated with the Kasa integration.
Your devices and entities can be viewed using the navigation at the top of the Configuration view.

Here’s how mine were automatically configured:
| Devices | Entity ID |
|---|---|
| String Lights 2 | switch.string_lights_1switch.string_lights_2 |
| String Lights 3 | switch.string_lights_3+1 disabled entity |
Tip
If you don’t like the Entity Name or Entity ID set up by Home Assistant, you can easily change it. Navigate to Configuration → Entities and tap on the entity you want to edit.

Hang Your Lights
Now, do what you do! I set up lights on my front trees, the front roof line and the back roof line.
Creating Scenes
Scenes are a powerful tool that enables you to preconfigure the state of any device connected to Home Assistant. This is great for when you want to set up devices from a variety of generally incompatible sources (think, LIFX and Philips Hue) to act together as one.
For this project, we are going to create two scenes: Christmas Lights On and Christmas Lights Off.
- In the Home Assistant sidebar, navigate to Configuration → Scenes
- Tap “Add Scene” (Orange button on the bottom right of the screen)
- Add a name. I chose “Outdoor String Lights On”
- Add a device.
- Since I am using the TP-Link Kasa Outdoor Plugs with two outlets (or entities) per device, I found it better to use the “Entities” selector
- Start typing “switch” and select the plugs you want to turn on.
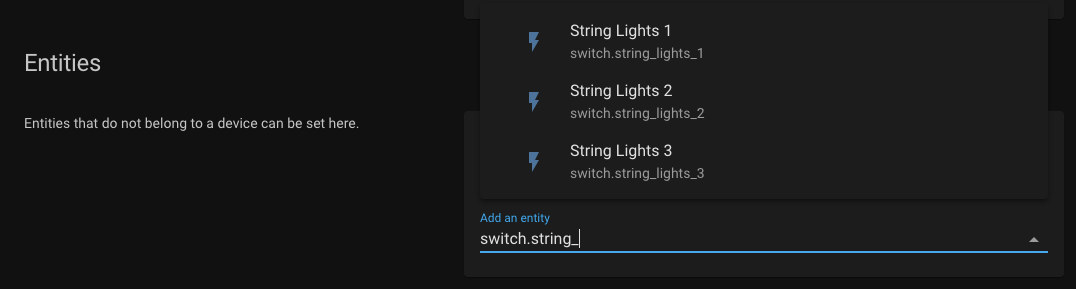
- In the Devices section, set the desired state of each device when this scene is activated
- Click on the first device.
- Turn on the device.
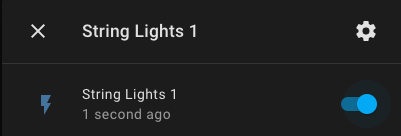
- Close the dialog box once the device is turned on.
- Repeat for each of the devices.
- Once all devices have been updated, save the scene using the orange “Save” button in the bottom right.
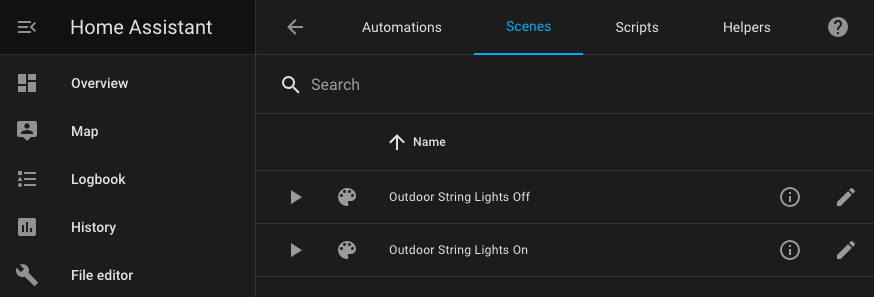
Repeat this process to add a second scene where all of the entities are turned off. Mine is named “Outdoor String Lights Off”.
Building Automation
Home Assistant’s graphical user interface (GUI) makes it easy to create automations to trigger scenes based on a variety of triggers. In this section, we will build four automations:
- Turn on the lights just before sunset
- Turn off the lights later at night
- Turn on the lights in the early morning
- Turn off the lights just after sunrise
About the Sun as a Sensor
One of the few built-in integrations available on Home Assistant measures the position of the Sun. Specifically, the sun entity checks whether the sun is above or below the horizon.
Heads Up
Home Assistant requires your address to accurately track the sun. You can set your home address by navigating to Configuration → General.
The sun entity has two possible states and measures the current sun elevation. We can modify how we react to the sensor using a time offset value as well as several available attributes.
| Entity Name | Entity ID | Possible States | State Attributes | Options |
|---|---|---|---|---|
| Sun | sun.sun | above_horizonbelow_horizon | next_risingnext_settingnext_dawnnext_dusknext_noonnext_midnightelevationazimuthrising | offset |
You can read the Home Assistant documentation for more information, but in this tutorial we will start by working in the GUI.
Activating a Scene at Sunset
To get started, we will set up an automation to activate the “Outdoor String Lights On” scene just before sunset.

- Navigate to Configuration → Automations.
- Tap the orange “Add Automation” button in the bottom right.
- In the dialog box that pops up, Home Assistant has the option to try and create an automation for you based on the phrase alone. It doesn’t seem like the phrase recognition understands “scenes”, so tap “Skip”.
- Fill out a name. I chose “Turn On String Lights at Sunset”. Feel free to add a description.
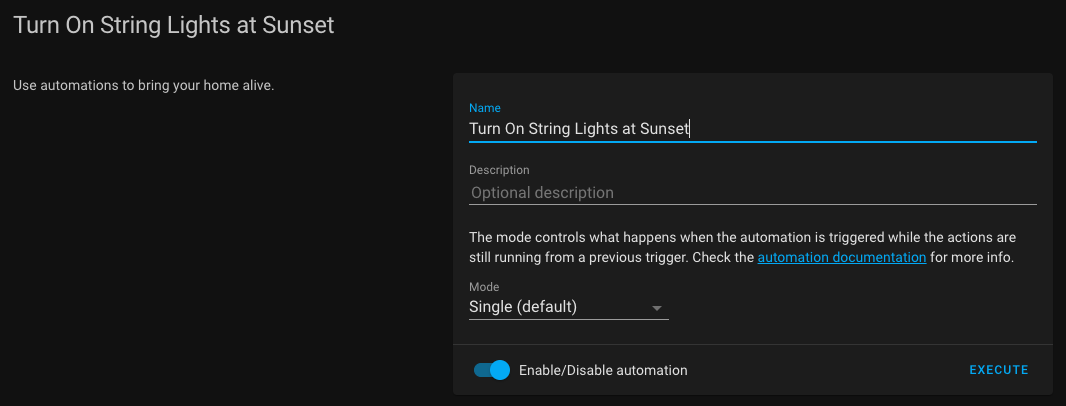
- Set the trigger to be the sunset.
- For “Trigger Type”, select “Sun”
- As “Event”, select “sunset”
- Add an offset if you wish. Format is ±HH:MM:SS

- Configure the automation to activate the scene that turns the lights on.
- For “Action Type”, select “Activate scene”
- In the “Entity” selector, start typing “scene” – then pick the scene that turns on the lights.

- Finally, tap the orange “Save” button
That’s it! When the sun sets (+ or – your offset), Home Assistant will activate the scene that turns on the Christmas lights.
Activate a Scene at a Specific Time
Next, you’ll want to set up an automation that turns off the lights by executing the “lights off” scene at a specified time.
- Navigate to Configuration → Automations.
- Tap the orange “Add Automation” button in the bottom right.
- In the dialog box that pops up, tap “Skip”.
- Fill out a name. I chose “Turn Off String Lights at Night”. Feel free to add a description.
- Use “Time” as a trigger.
- For “Trigger Type”, select “Time”
- Select “Fixed time”
- In the “At time” field, specify the time of night you want the lights to turn off. Format is HH:MM, in 24-hour time and in the local timezone.

- Configure the automation to activate the scene that turns the lights on.
- For “Action Type”, select “Activate scene”
- In the “Entity” selector, start typing “scene” – then pick the scene that turns the lights off.
- Finally, tap the orange “Save” button
Pulling it All Together
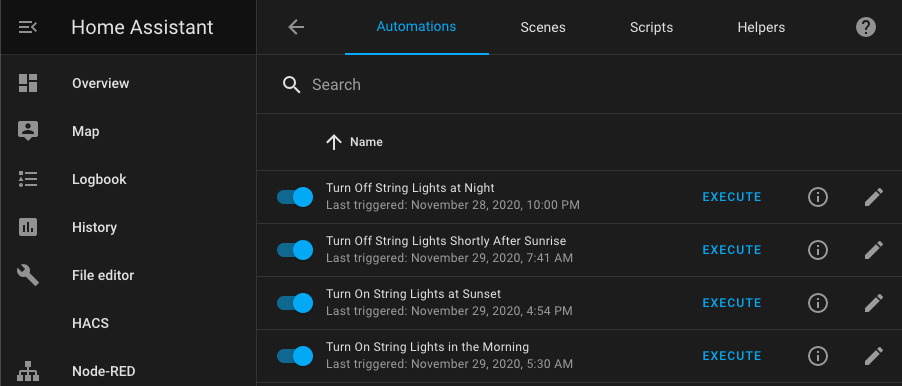
If you like your Christmas lights to be on in the morning, repeat the above two procedures to create two new automations: “Turn On String Lights in the Morning” and “Turn Off String Lights Shortly After Sunrise”
I have the Time trigger in my “Turn On String Lights in the Morning” set to 05:30 AM. Since it takes a little while to get bright after the sun rises, my “Turn Off String Lights Shortly After Sunrise” automation has an offset of +00:15:00.
Once you are done, you will have a set of four automations that should look something like this:
Validating the Configuration
I ran into a problem where only half of my lights turned on when the “Turn On” scene was activated. Therefore, I recommend validating the configuration by taking a quick look at the underlying YAML files.
Heads Up
You will need the “File Editor” add-on in order to proceed. Follow these instructions to get it set up – it will only take a minute.
- In the Home Assistant sidebar, tap “File Editor”
- Tap the small folder icon in the top left corner of the File Editor window.
- Navigate to
/configand then tap “scenes.yaml“ - Validate the configuration.
- After following this tutorial, you should have two scenes, configured in JSON format.
- Each scene should name the “entities” that you want to control. If any are missing, add them here by copying one of the existing sections.
- Under each entity, you should see the “friendly name:” and “state:” objects. The “state:” value should match your desired outcome – For example, if one entity has “state: off”, but you want it to be “on” in this scene, edit the value to correct.
- Leave the “id” alone.
- id: '1605828921631'
  name: Outdoor String Lights On
  entities:
    switch.string_lights_1:
      friendly_name: String Lights 1
      state: 'on'
    switch.string_lights_2:
      friendly_name: String Lights 2
      state: 'on'
    switch.string_lights_3:
      friendly_name: String Lights 3
      state: 'on'
- id: '1605828956058'
  name: Outdoor String Lights Off
  entities:
    switch.string_lights_1:
      friendly_name: String Lights 1
      state: 'off'
    switch.string_lights_2:
      friendly_name: String Lights 2
      state: 'off'
    switch.string_lights_3:
      friendly_name: String Lights 3
state: 'off'- If you had to make any changes, save the file using the orangish-red “Save” icon in the top right corner.
- To make configuration file changes take effect, restart Home Assistant.
- Navigate to Configuration → Server Controls.
- Tap “Restart” and wait for Home Assistant to come back online.
Conclusion
Congratulations! You have successfully configured Home Assistant to automate the behavior of your Christmas lights. Relish in your newfound freedom from ever having to put on boots and a coat just to trudge outside in the snow just to unplug a few extension cords.
So long as Home Assistant stays online, your lights will now react to the sun and pay attention to what time it is.
If you want to take this one step further and keep an eye on things, you should add a couple of cards to your Home Assistant dashboard.
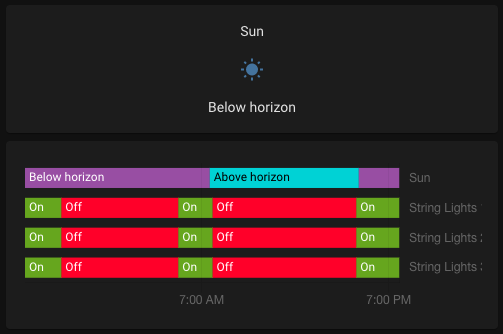
To add these cards to your dashboard:
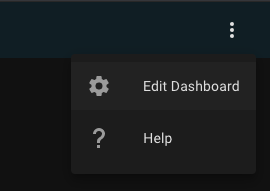
- Navigate to “Overview”
- In the top right corner, tap the three dots and then tap “Edit Dashboard”
- Tap the orange “Add Card” button in the bottom right.
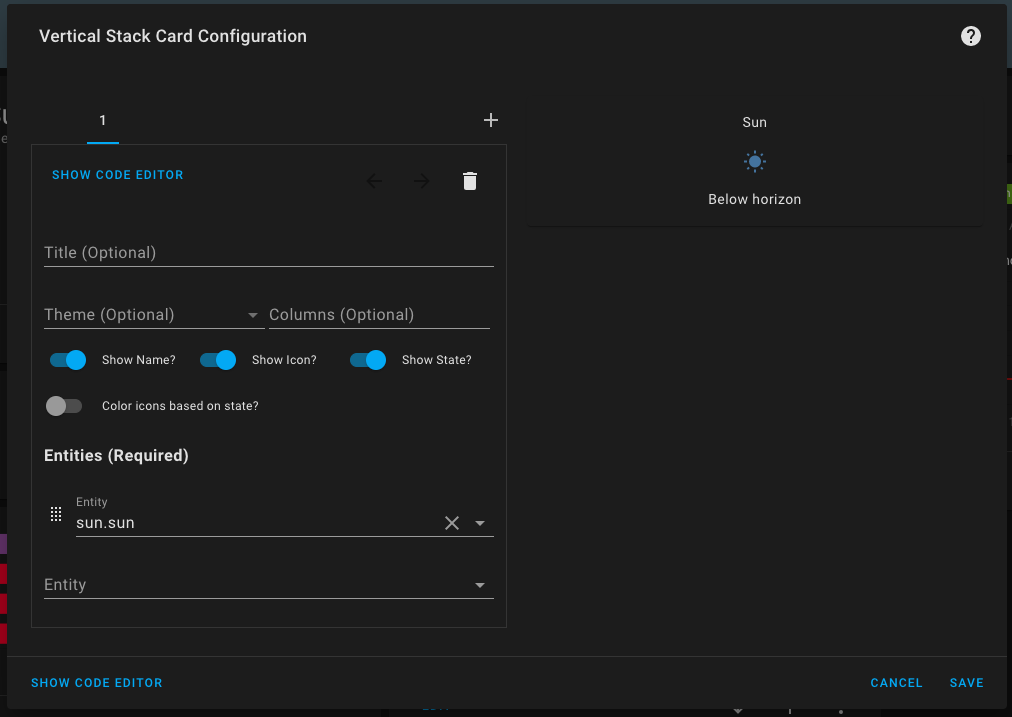
- Tap “Vertical Stack”
- I used the “Glance” card for the Sun.
- Delete any entities that may have auto-populated.
- For “Entity”, select
sun.sun
- Tap the “+” icon to add another card to the stack.
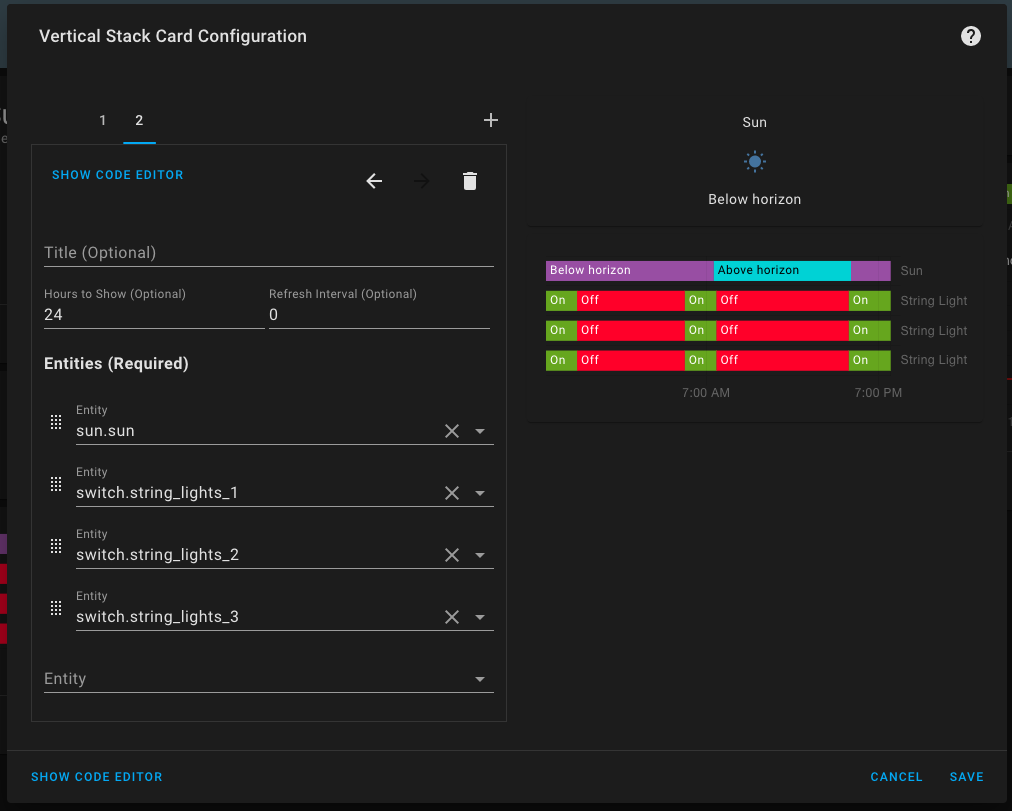
- I used the “History Graph” card so that I can see the state of my lights over a 24 hour period.
- Delete any entities that may have auto-populated.
- Add the
sun.sunentity - Add all other relevant entities.
- Tap “Save”
- Move the card wherever you like it, then use the “←” icon on your dashboard tab to exit edit mode.
What are you going to automate next? Let me know in the comments!