I’m making good progress!
Furring the Bike
It takes a long time to fur a bike. I’ve managed to complete the accessories and have made some progress on the frame.
Furry Bike Accessories
In addition to the fenders…
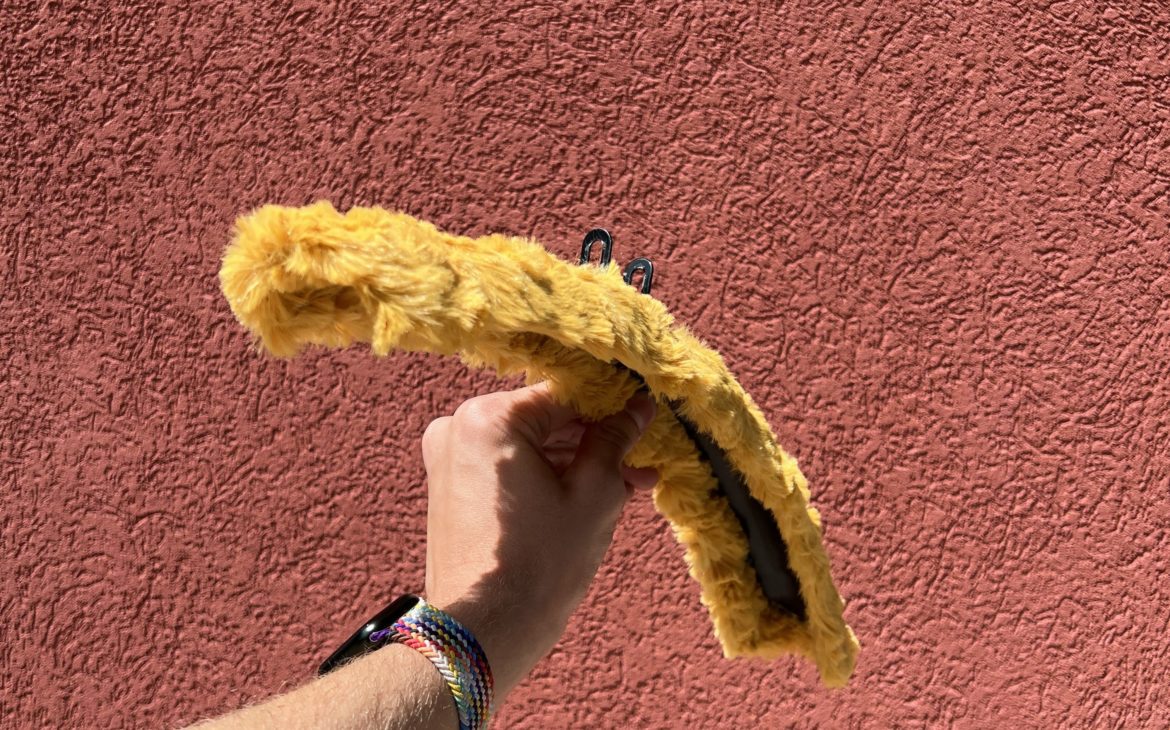
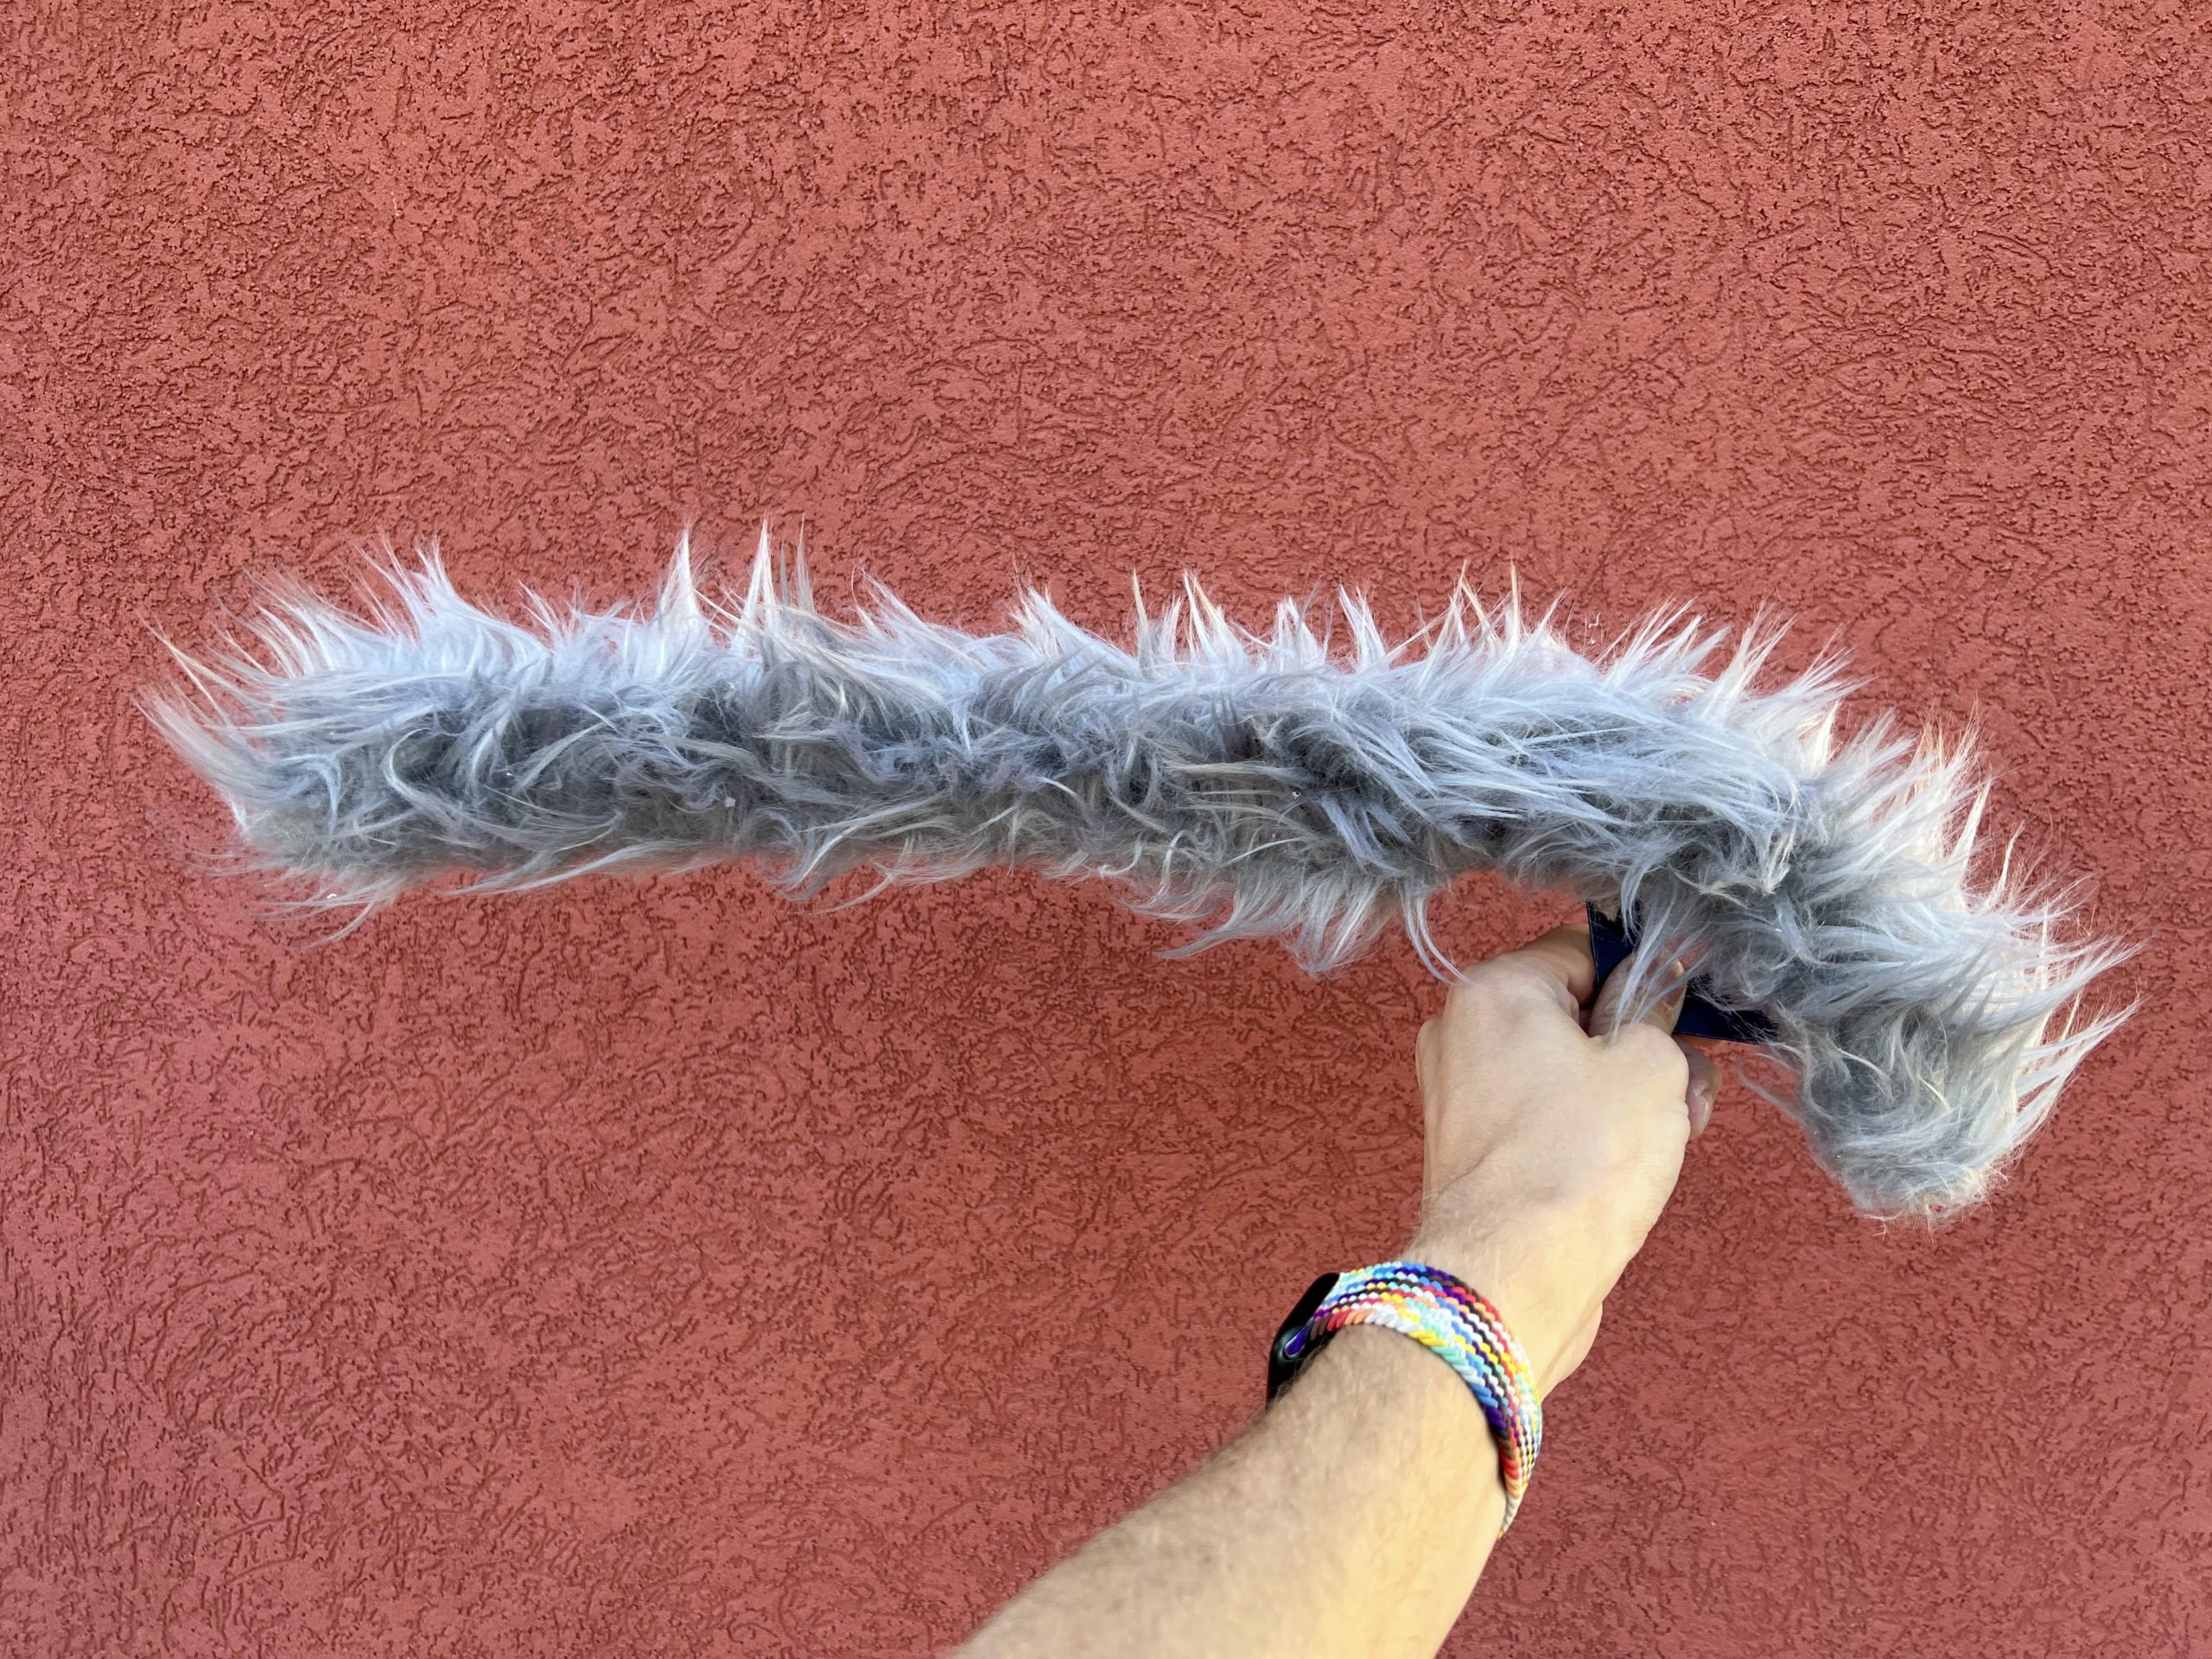
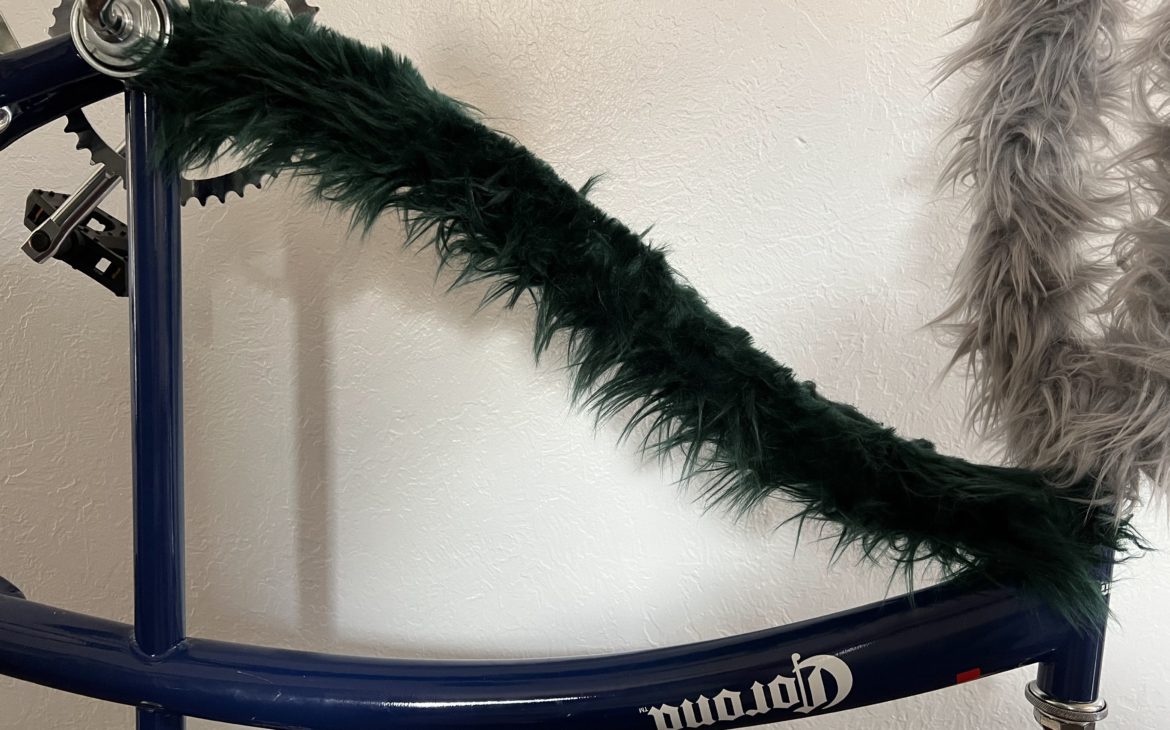
I’ve also put fur on the chain protector and I think it’s very fun.

I used the same method on the chain guard that I used on the fenders:
- Cut a piece of fur fabric to the rough shape of the target accessory
- Glue the face down to the fabric
- Fold over and glue the edges, making strategic cuts to help with any curves
This shape was a lot more complicated than the fenders, but I think it came out very nice. Definitely worth the time & effort.
I’m hoping the long fur doesn’t cause problems with the mechanics… I imagine I’ll be doing some trimming when I get the bike all put together.
Furring the Frame
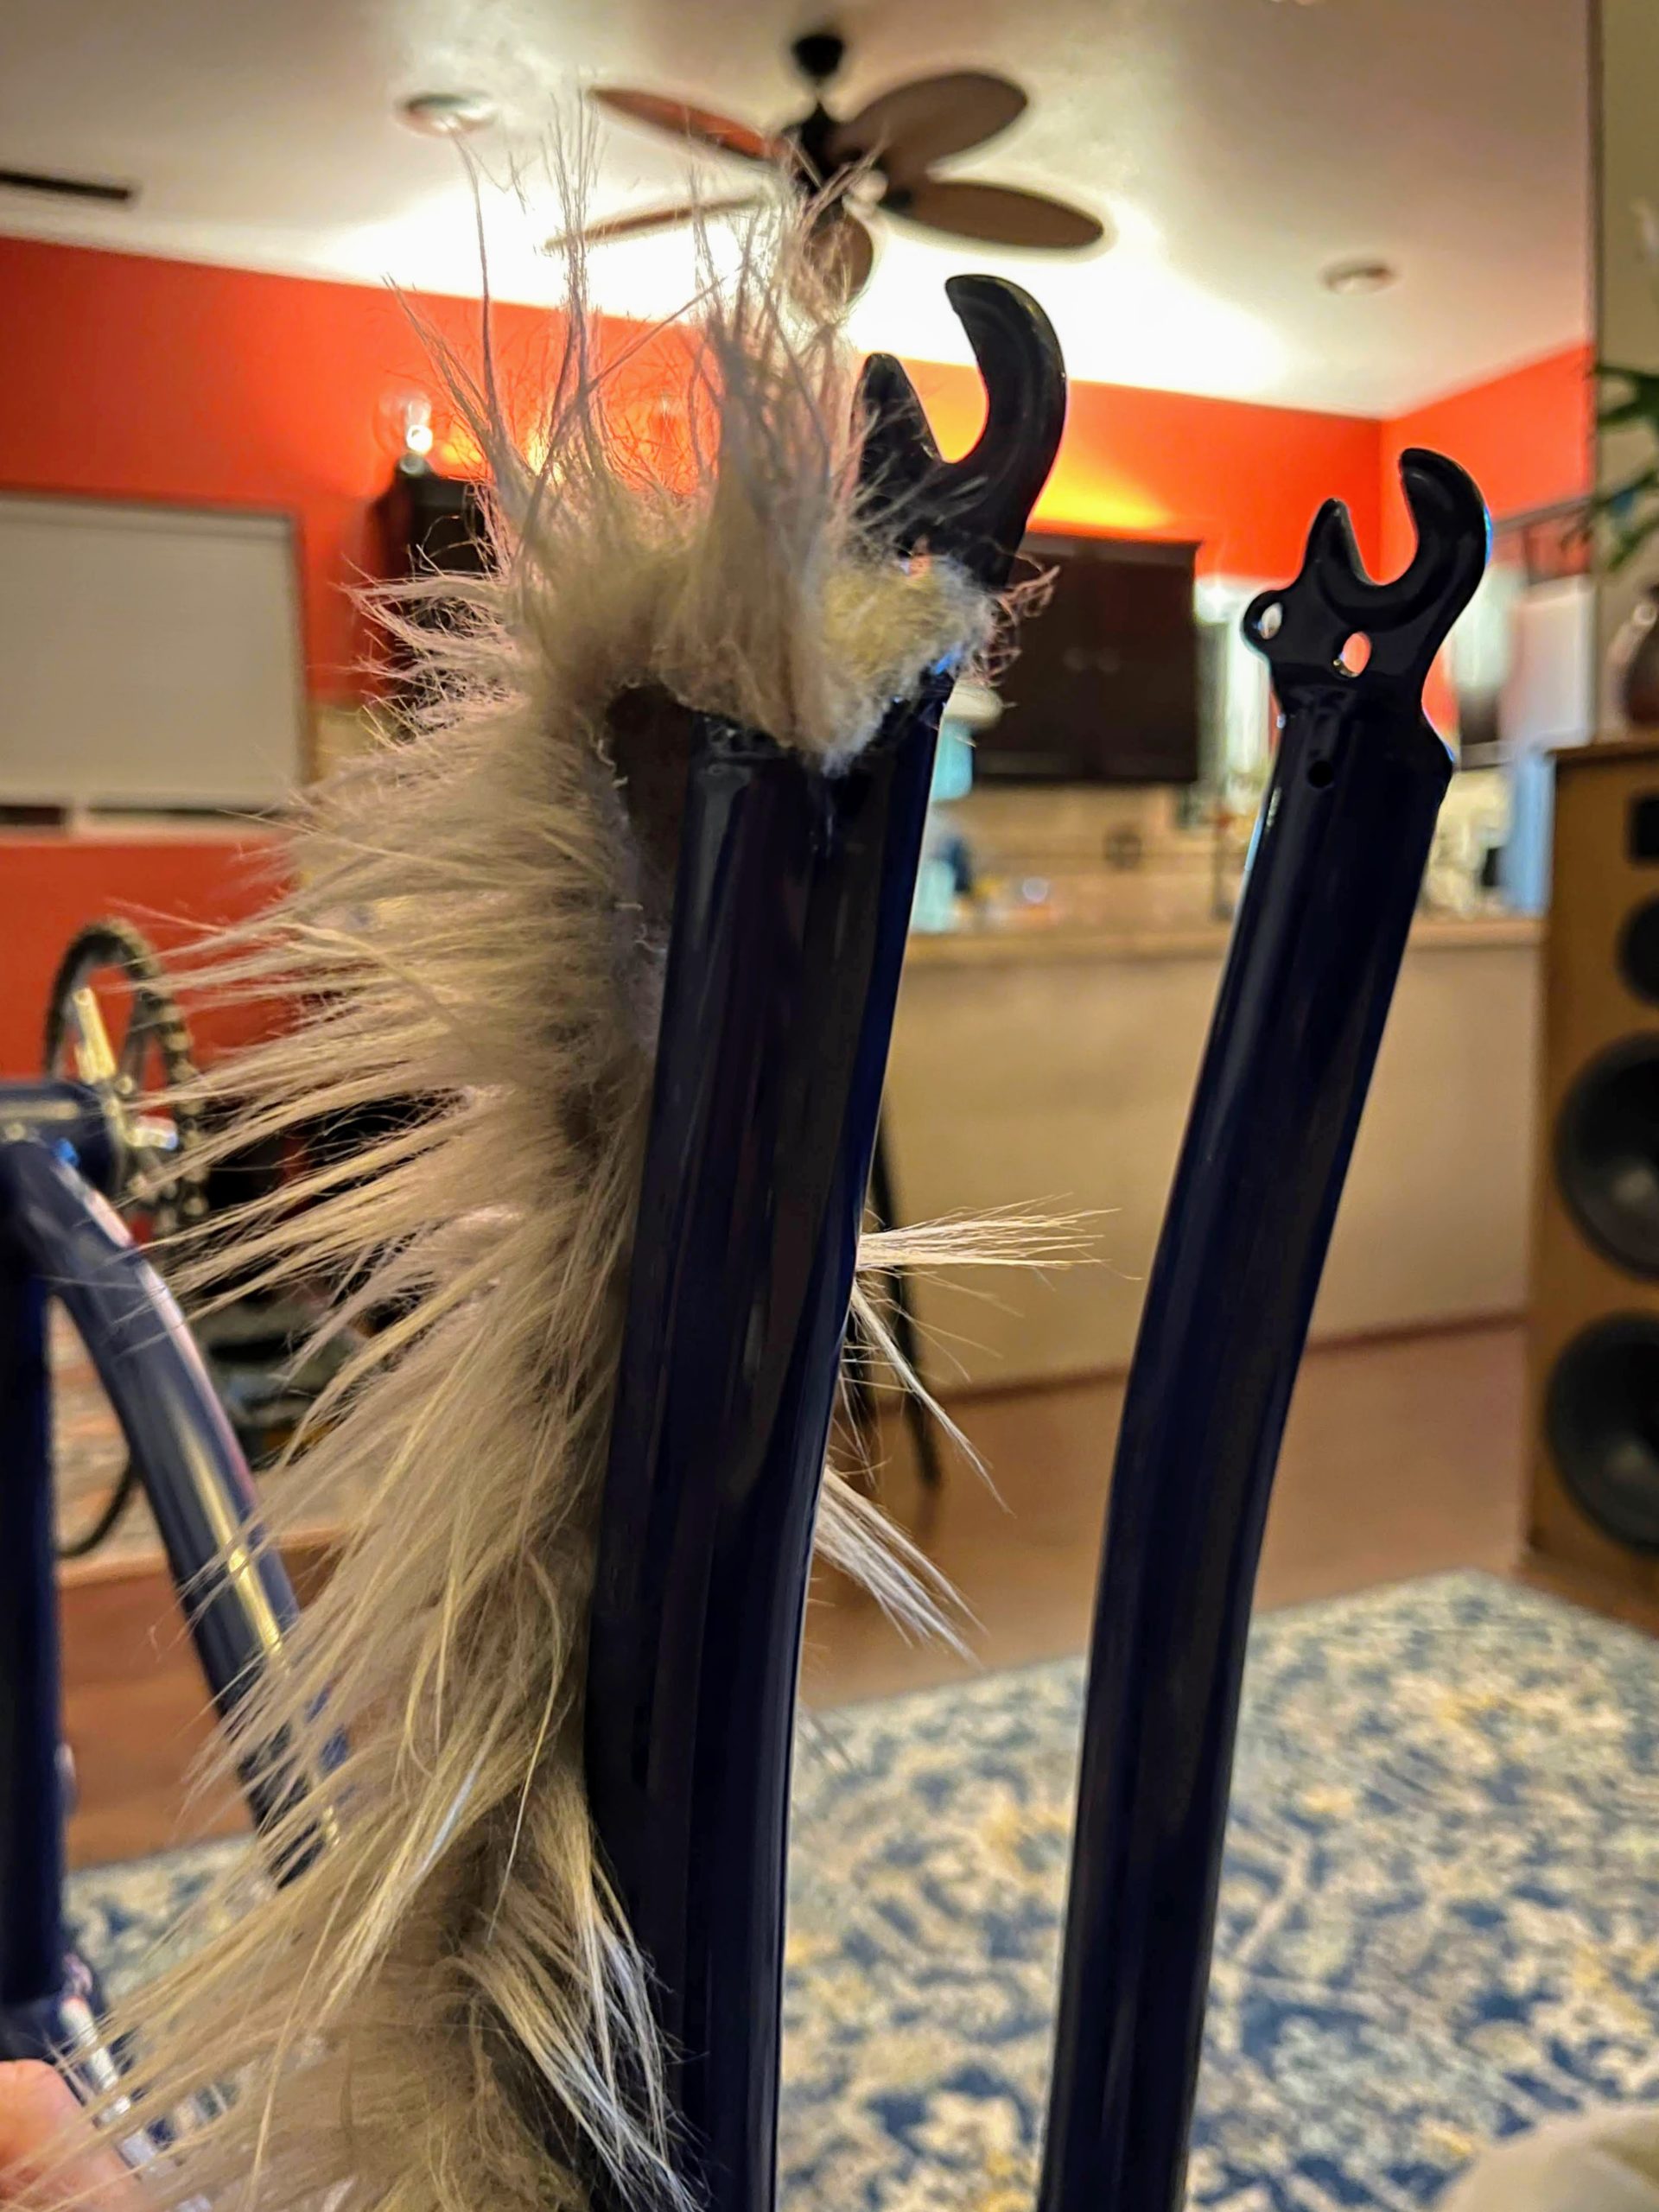
Front Fork
As for the frame, I have the fork completed.
ℹ️ // Name That Frame!
The part of the frame that grabs the front wheel is called the fork.
I wasn’t sure how to best approach this part of the frame, but I decided to follow this method:
- Cut a strip of the fur fabric
- Run the edges through your hands multiple times to get all the shedding out
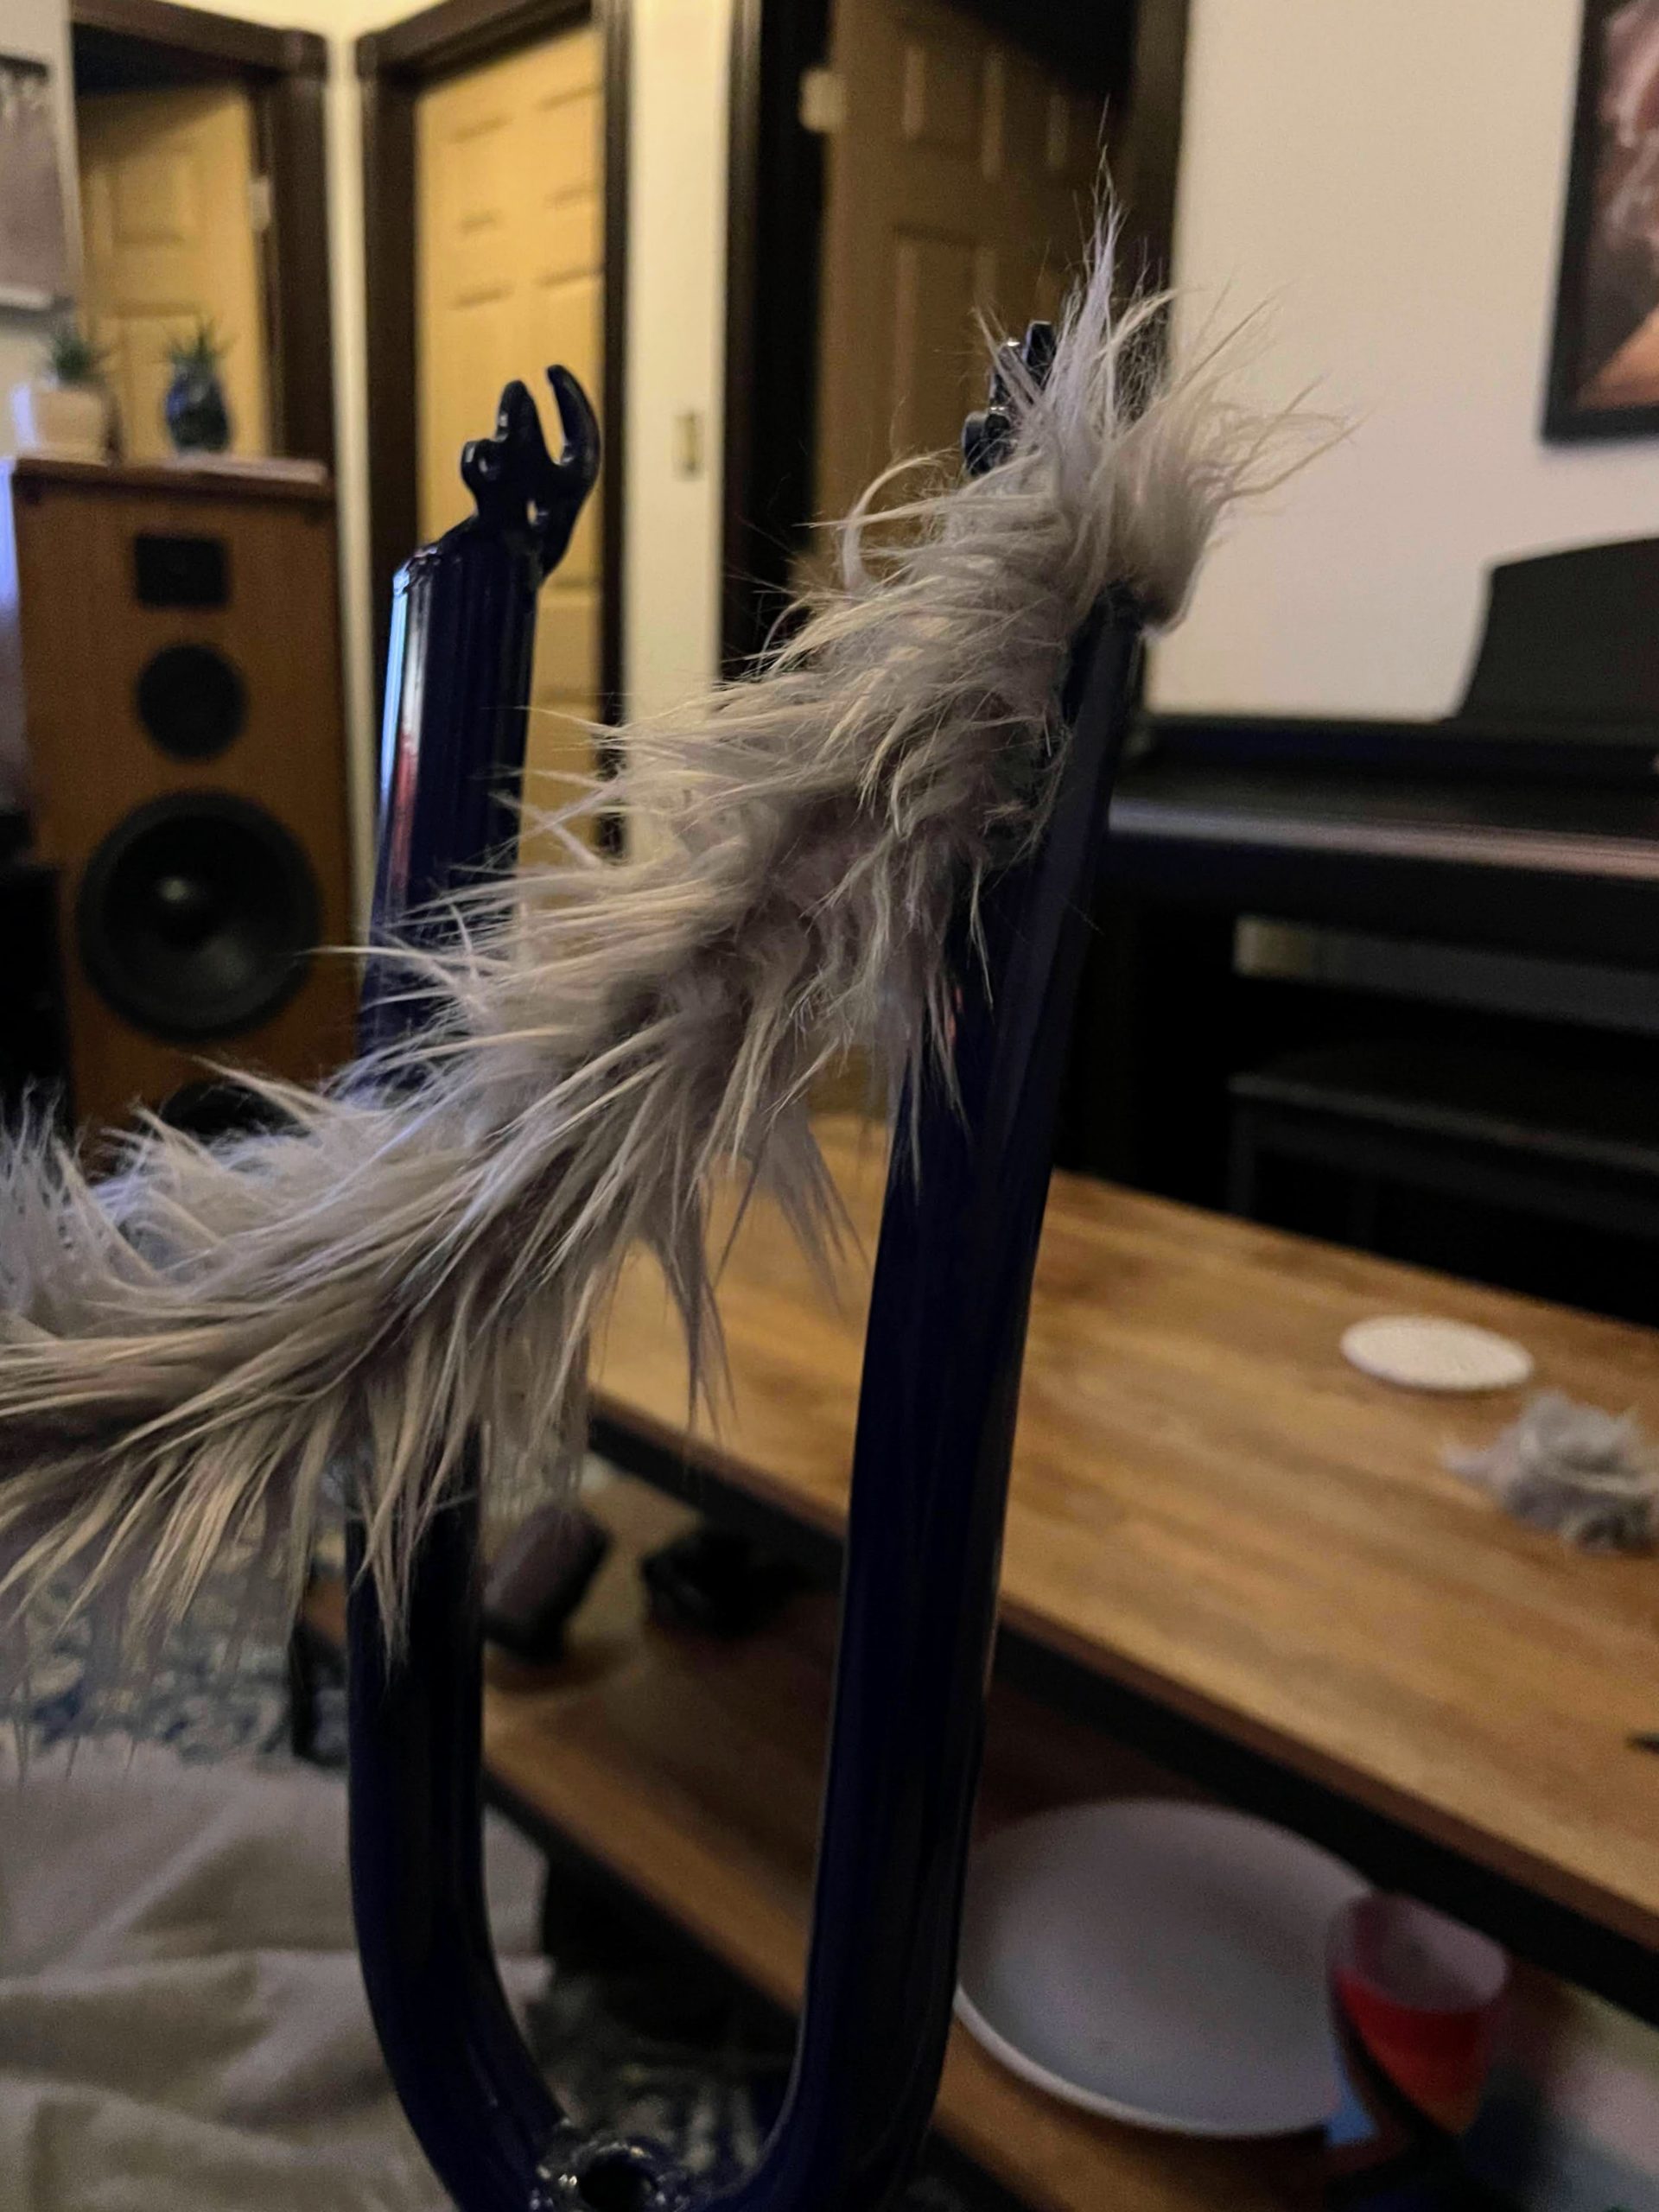
- Starting at the top, glue and wind the fur around the frame to secure it in place
This was inspired by this very flamboyant human who made this video:
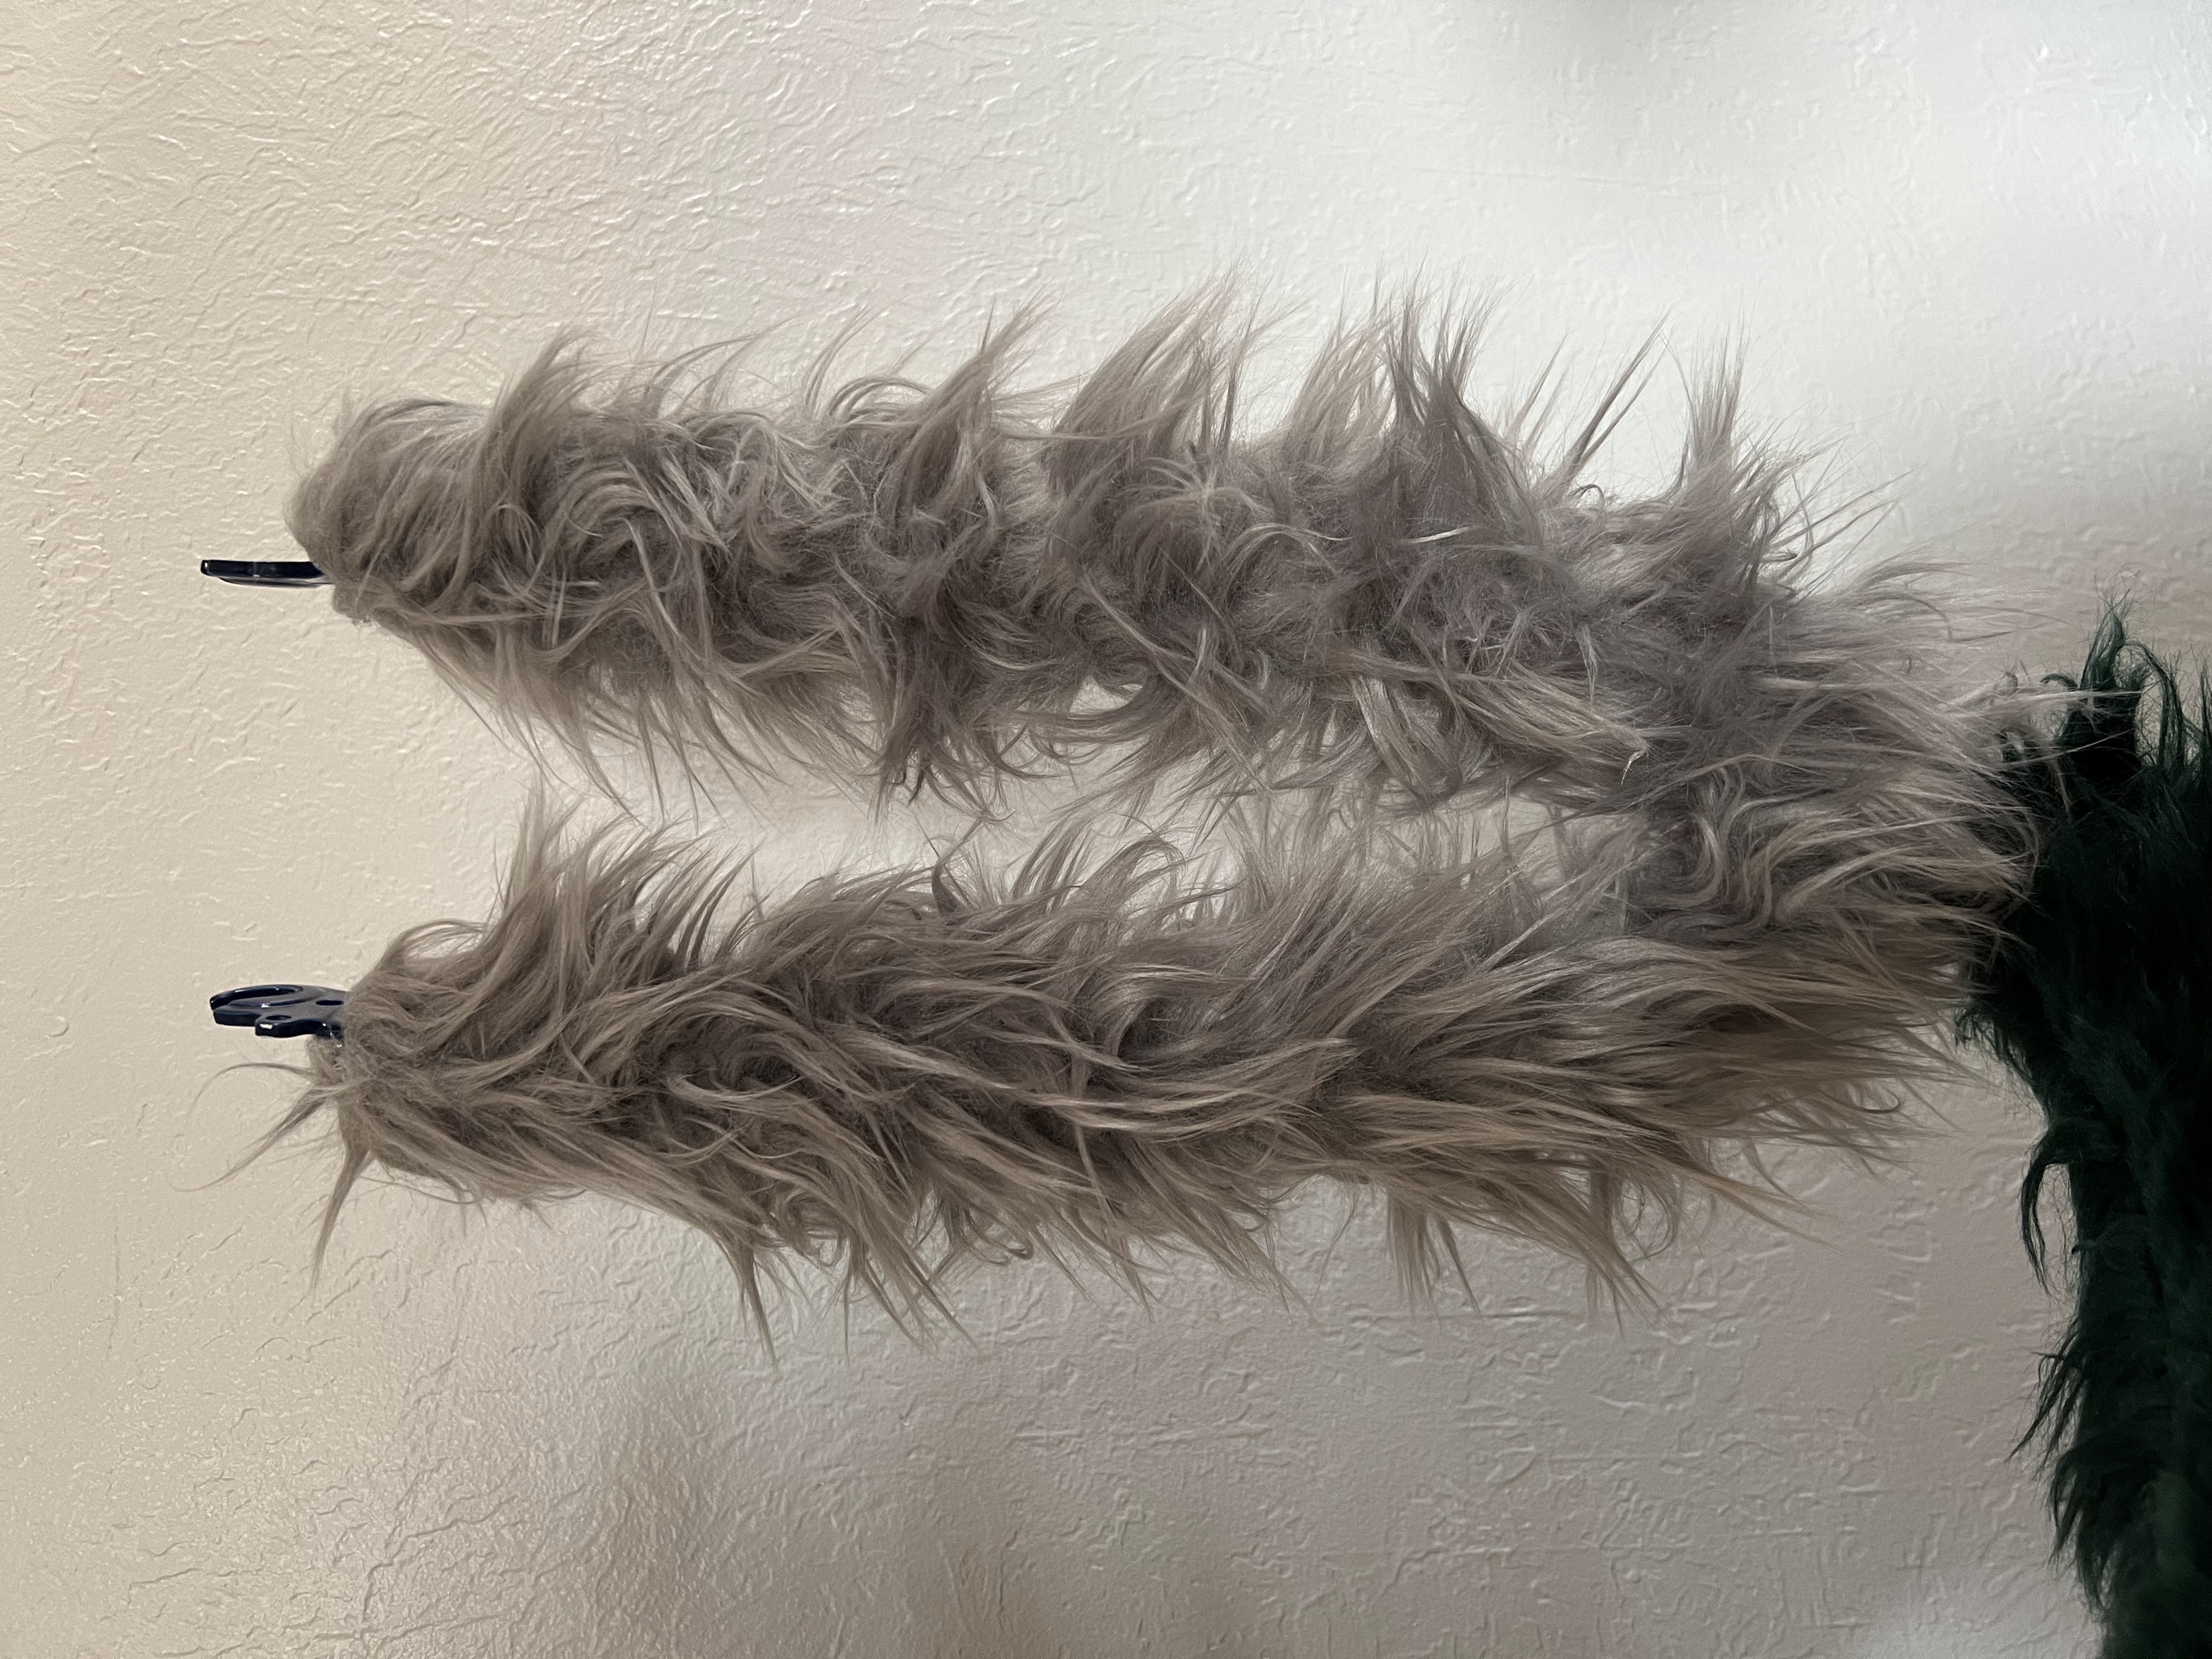
The spiraling method worked pretty well, but it took a long time to get done and I’m not 100% sold on the results.
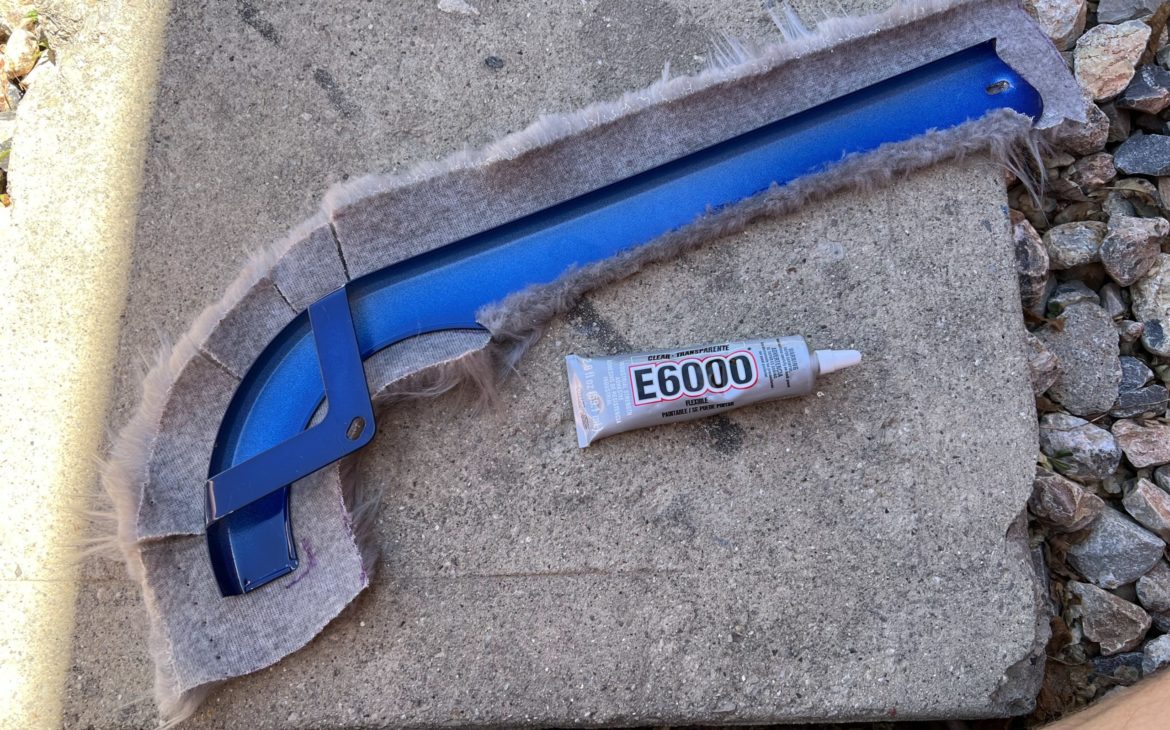
‼️ // Warning
Yes — I used the E6000 adhesive inside.
Don’t do this! The label has some very clear warnings about the fumes being known to cause cancer. I did a bad thing; don’t follow in my footsteps.
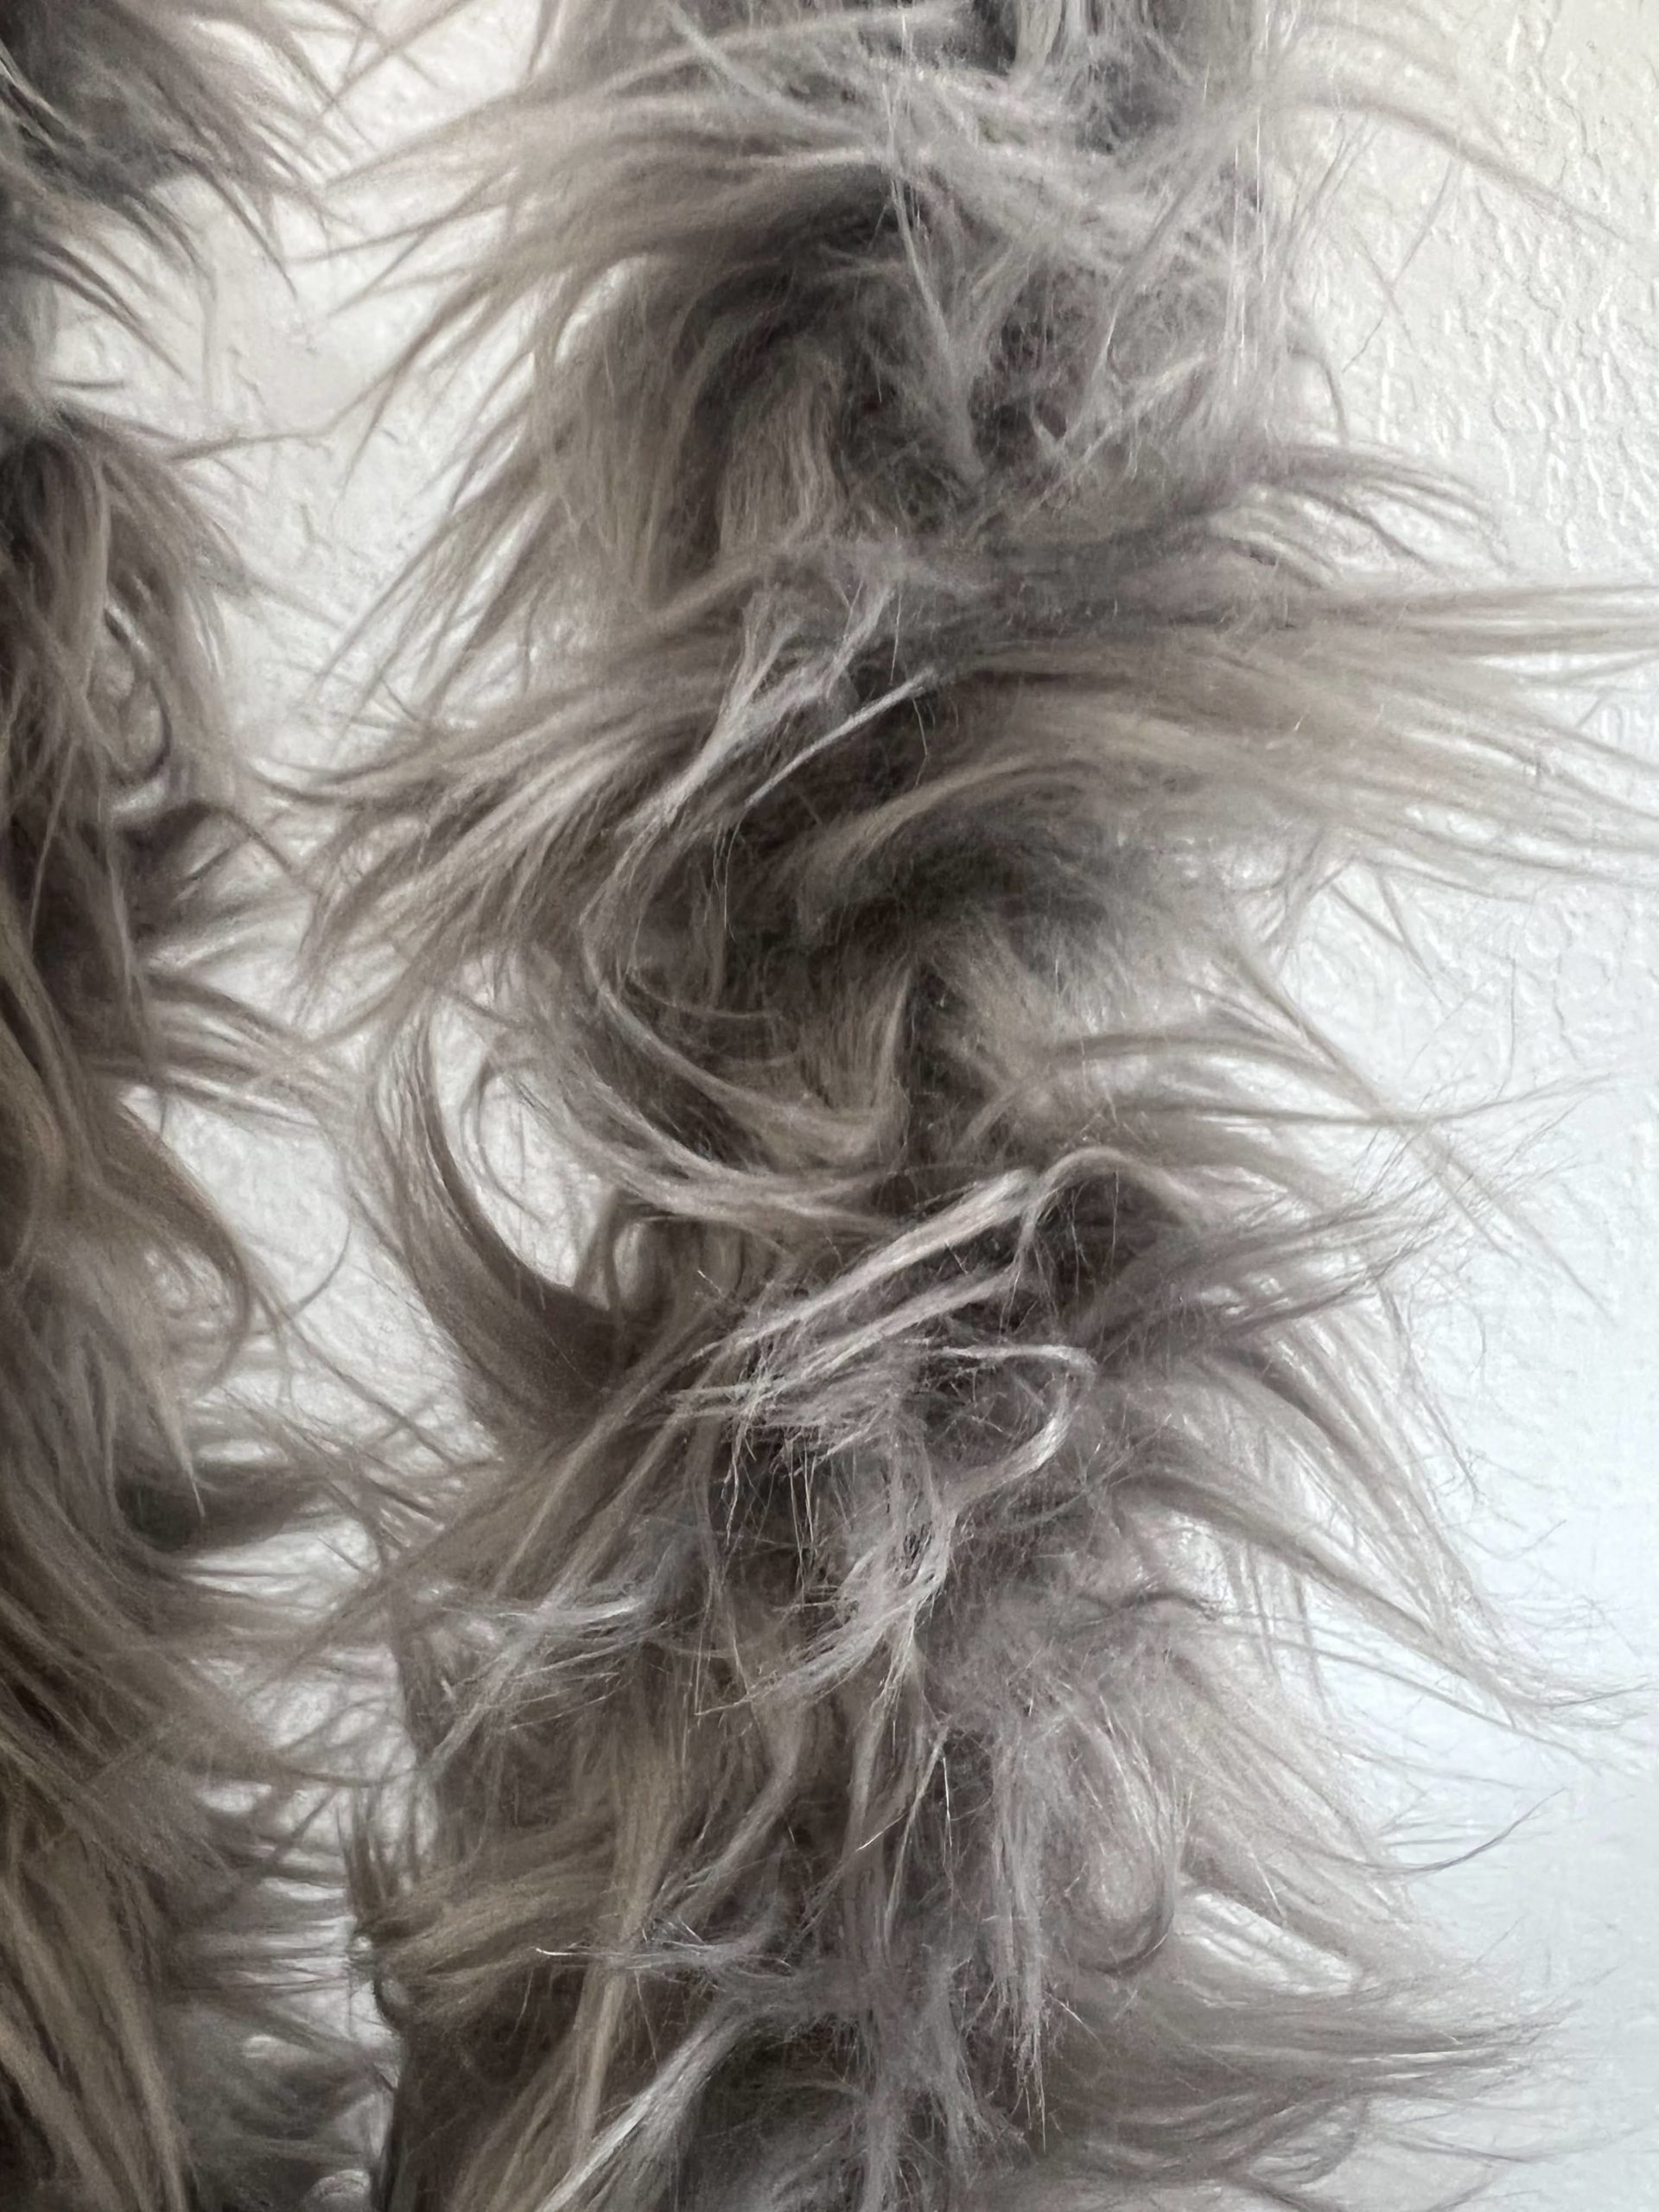
Honestly it turned out pretty good — but, I think this method doesn’t allow the fur to fluff out in a totally natural way. I want to pet my bike and stoke its fur!
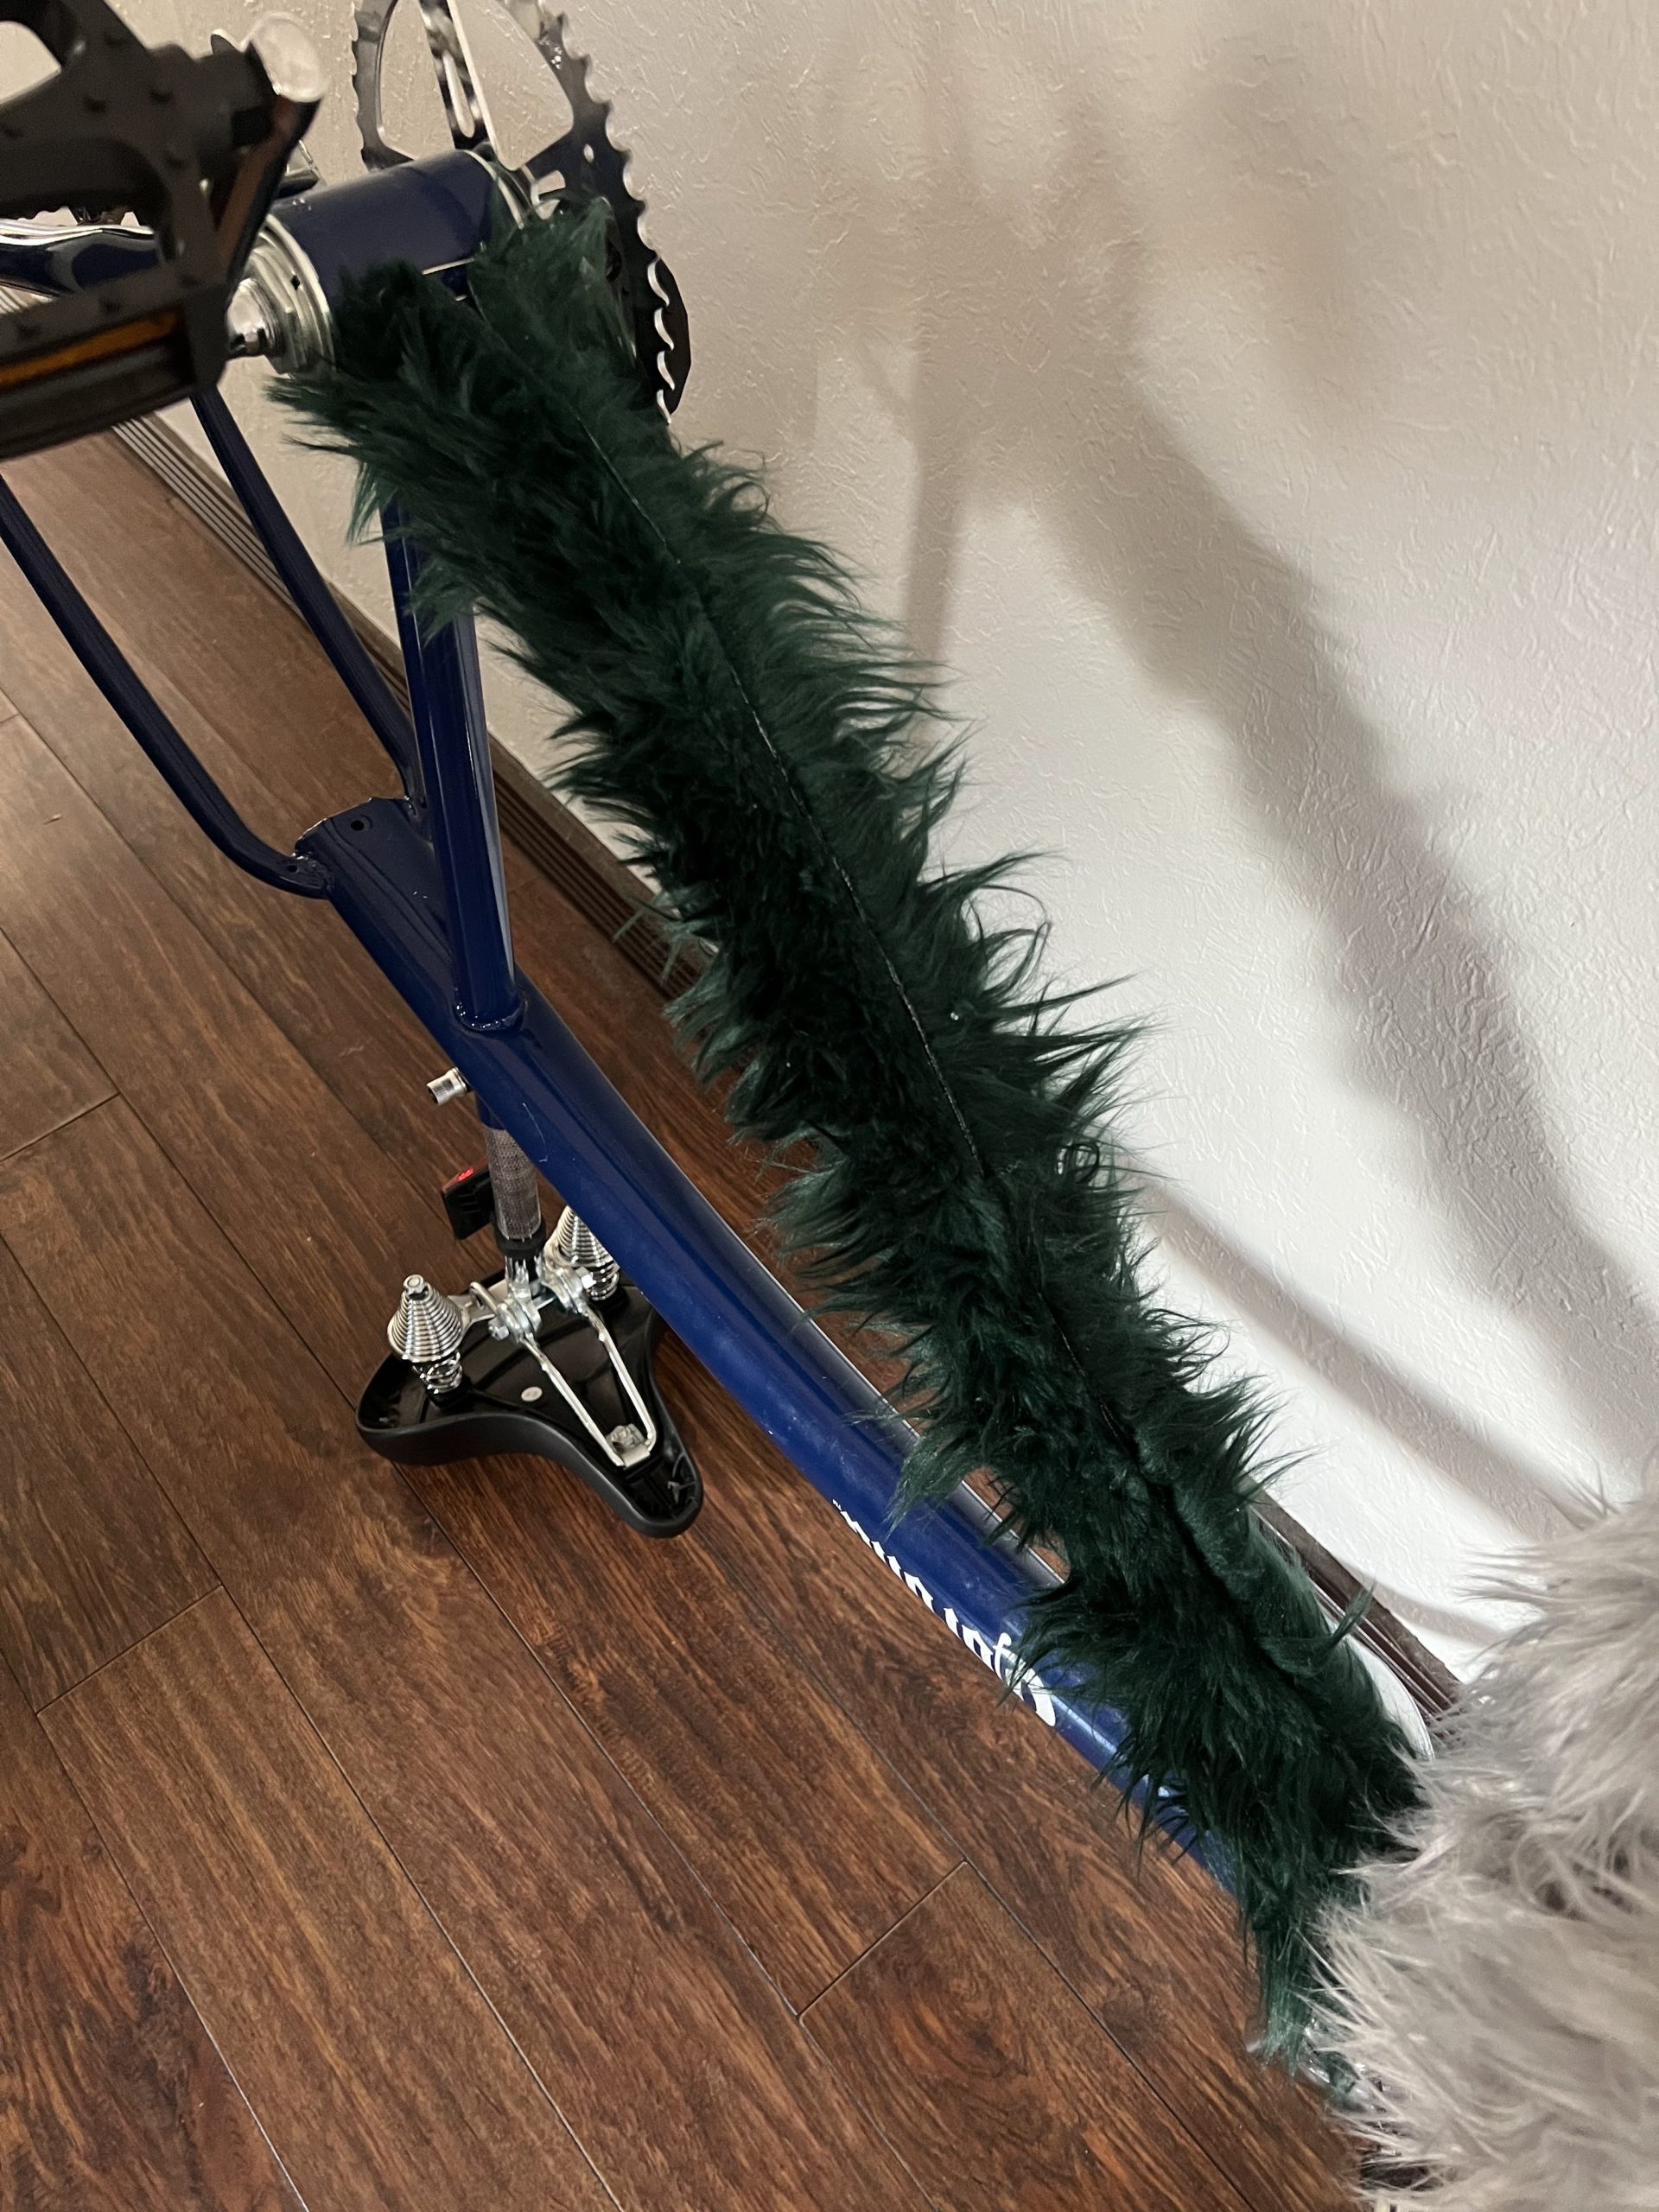
The Down Tube
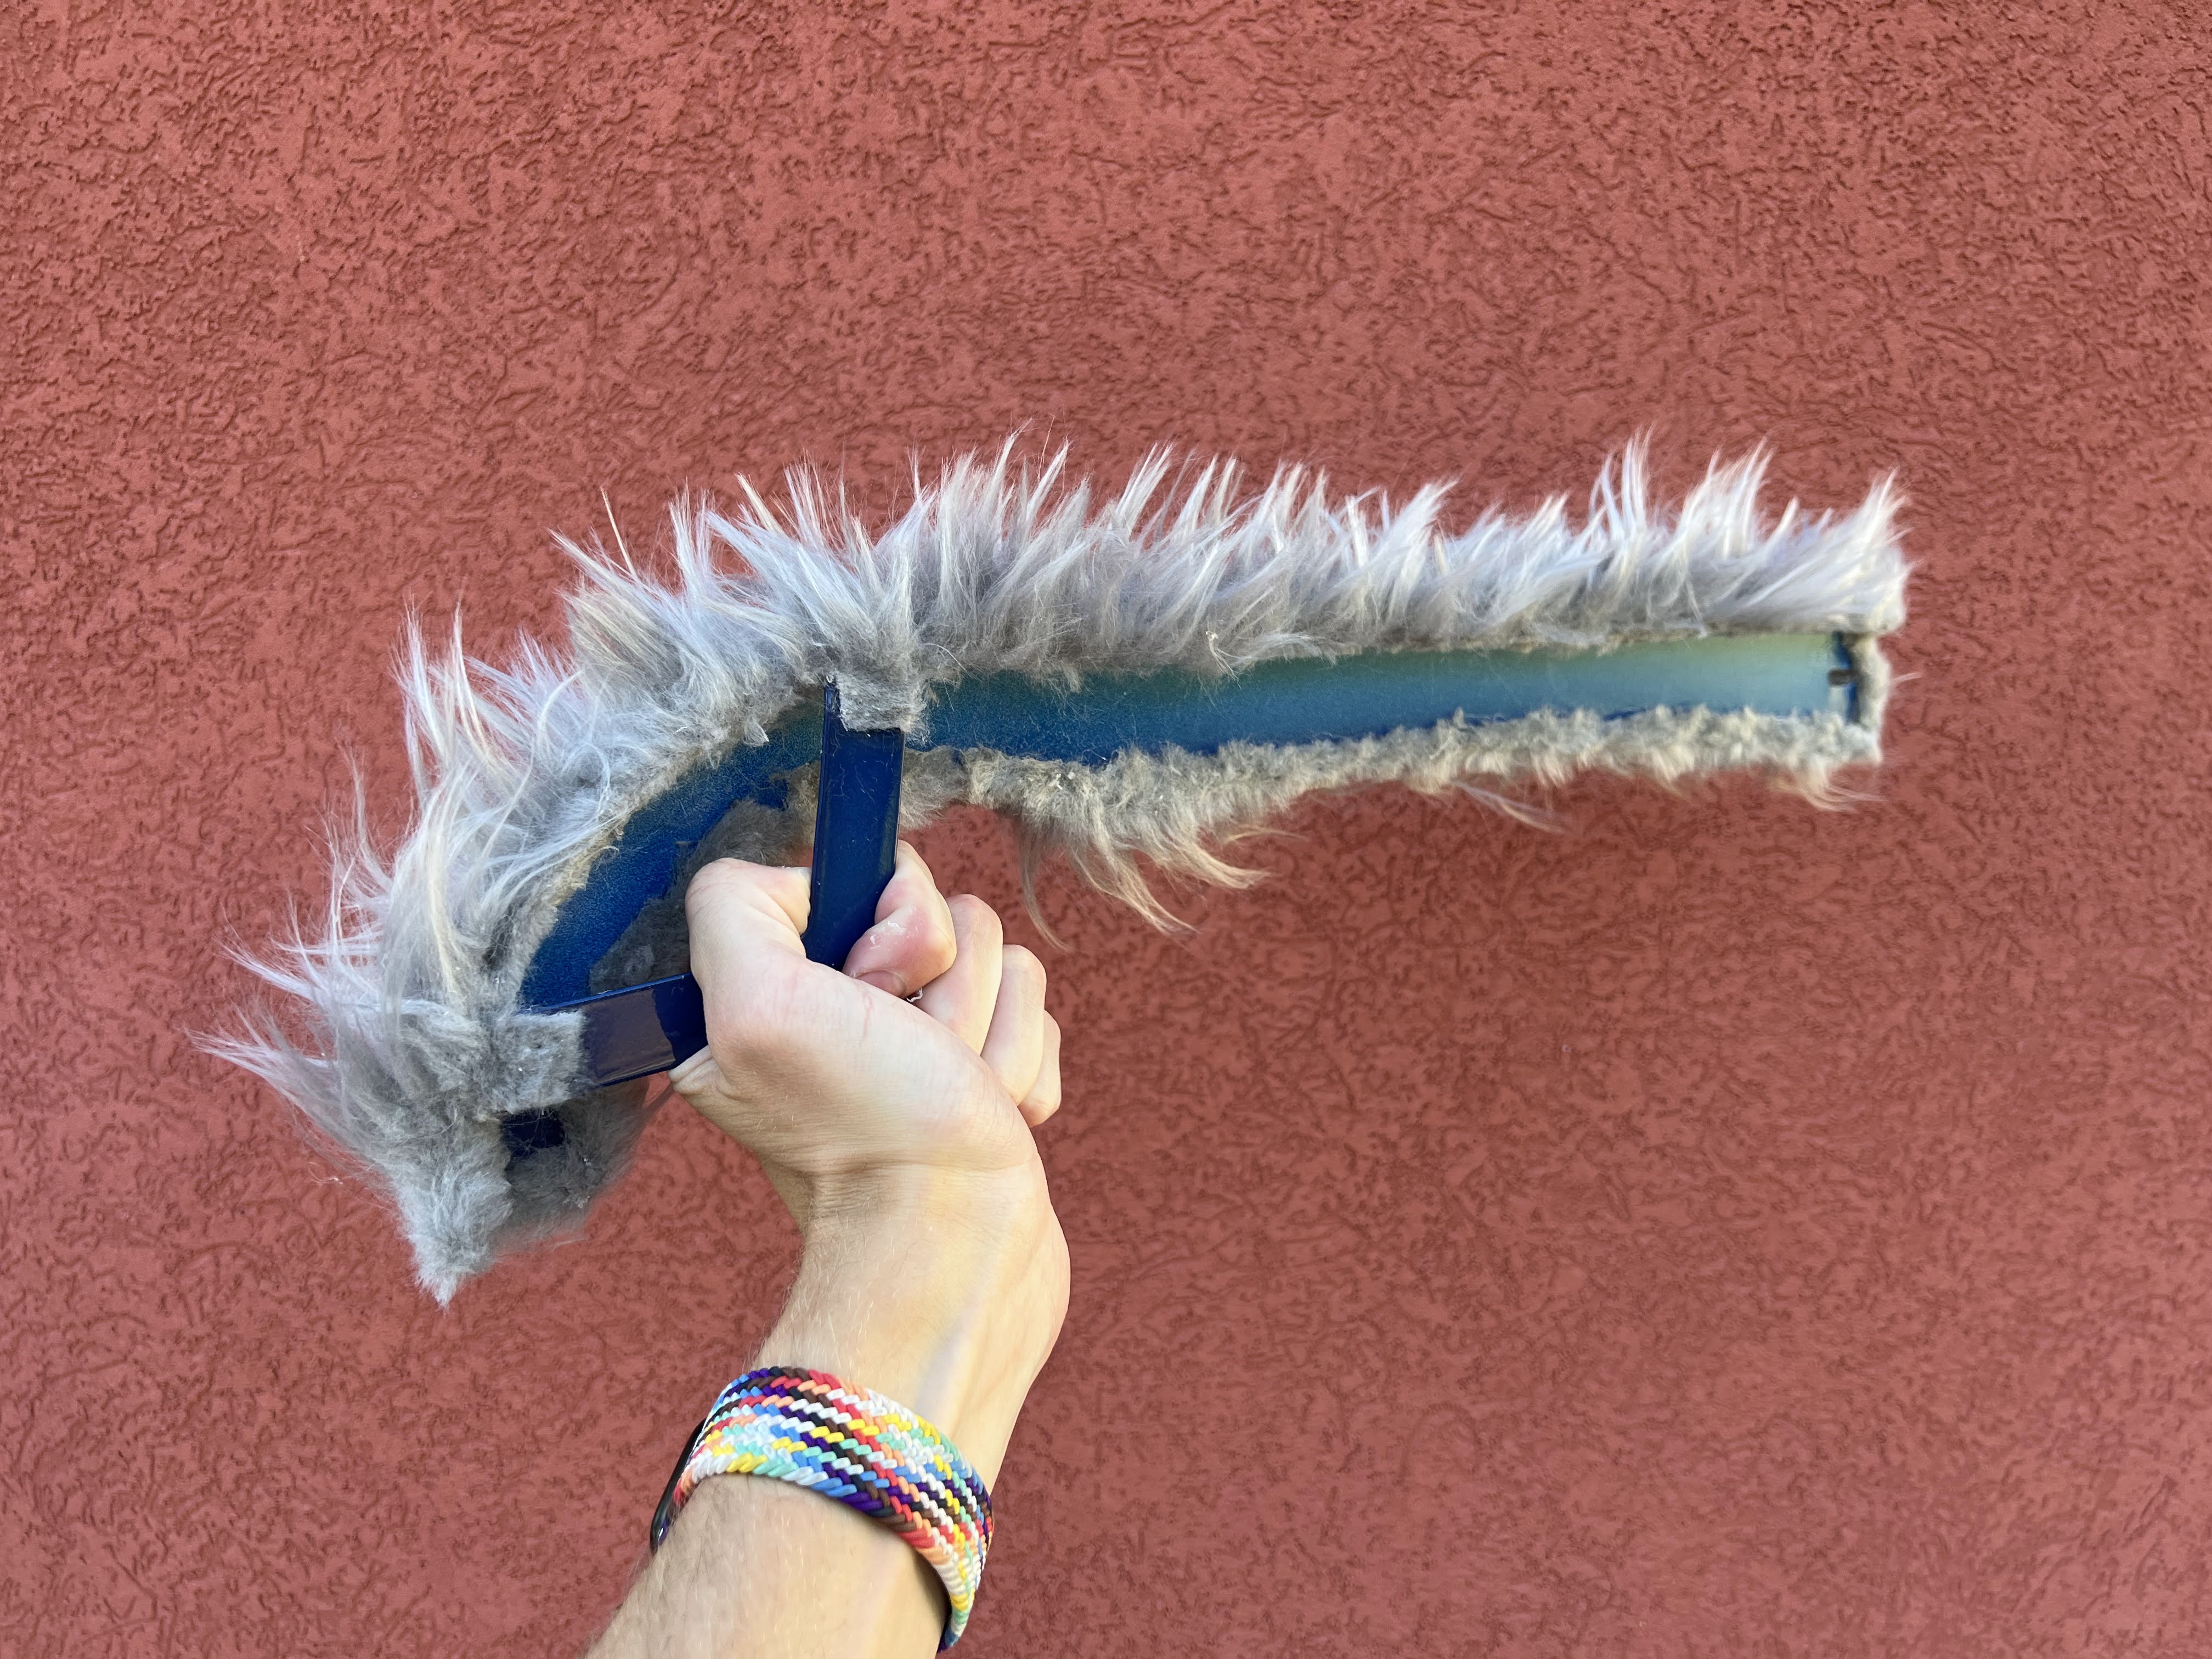
For the down tube, I decided to go back to the method of cutting a piece of fur to the size of the piece I’m covering.
ℹ️ // Name That Frame!
The bottom portion of the frame is called the down tube.
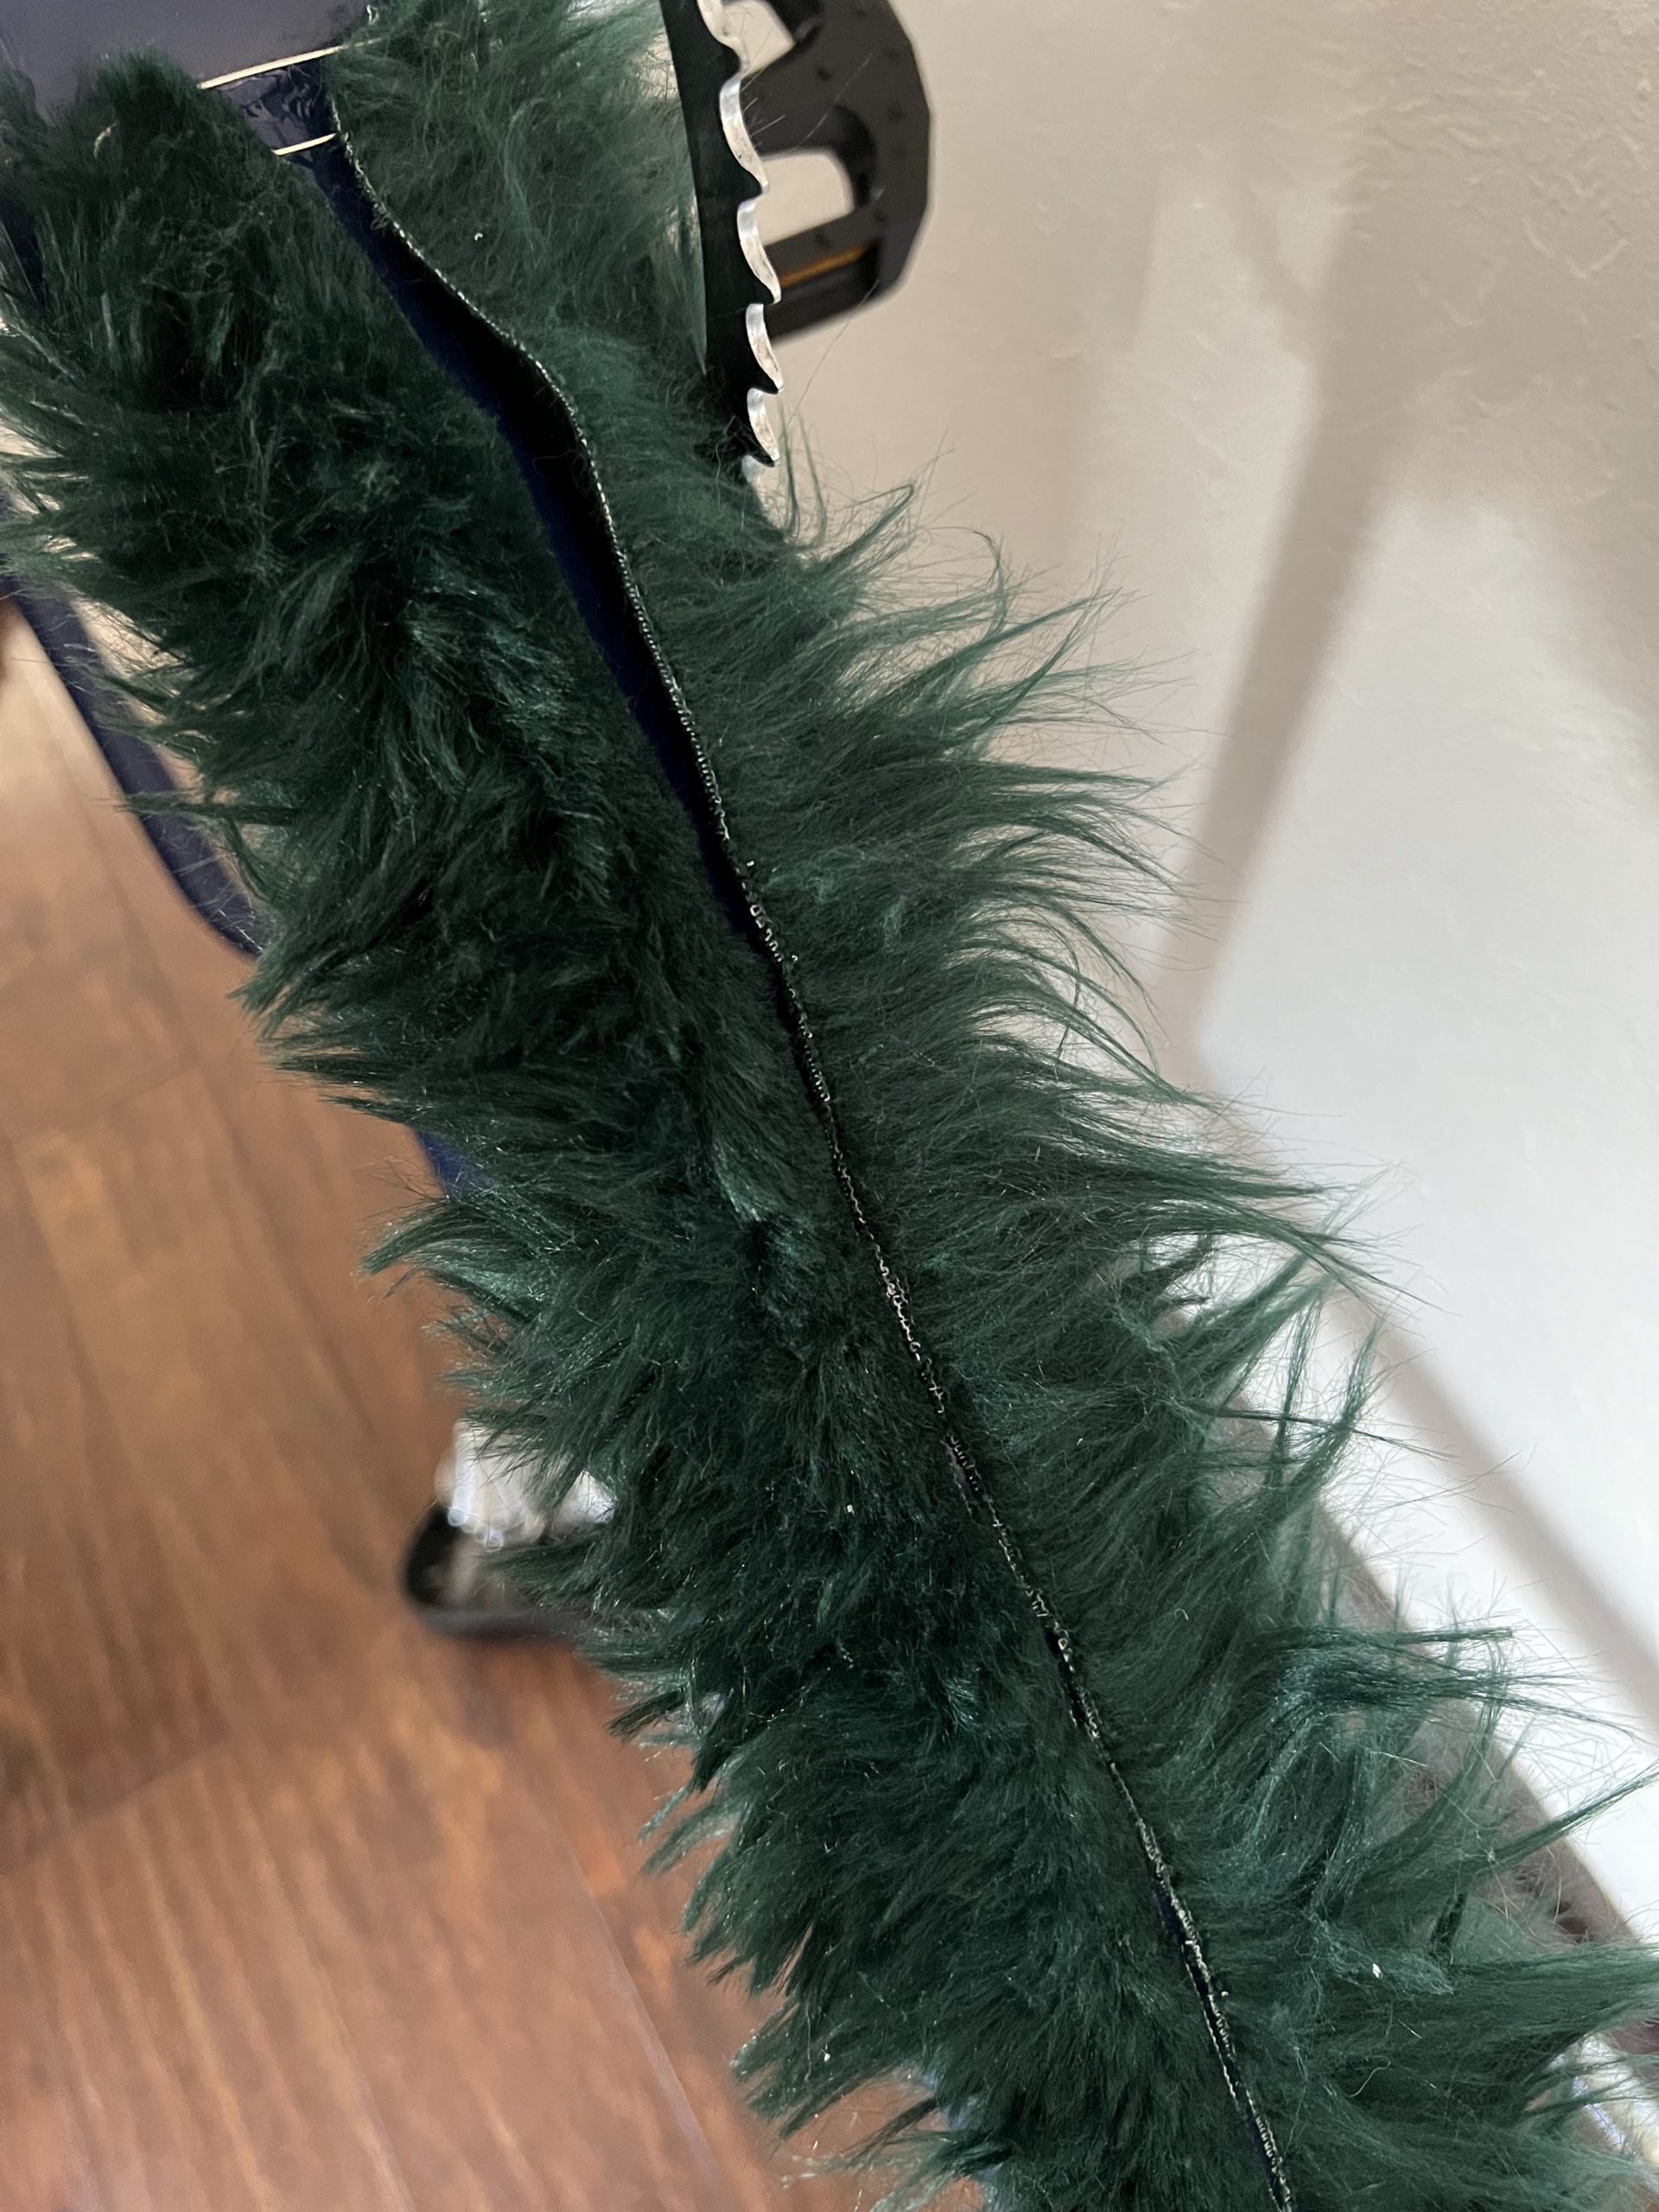
This came together quite well! It’s much more “stroke-able” than the fork.
There is a seam down the middle that I plan to use for some extra wiring.
Thinking About Lights
I Have No Idea What I Am Doing
I’ve never soldered, programmed LEDs or done really anything related to this project. So where to even start?
Adafruit!
Adafruit has a great starter tutorial that I highly recommend: Make It Glow – Your First NeoPixel Project
Per their recommendation, I purchased:
- Circuit Playground Express – Base Kit
- This thing is so cool! It has every connection & sensor that you could possibly need to make some really cool stuff. I am most excited about this purchase.
- Adafruit NeoPixel LED Strip w/ Alligator Clips – 30 LEDs/meter – 1 Meter
- I thought I should make sure I can make anything light up before buying the lights for my bike.
- This is a great thing to have around for experimentation. The alligator clips make getting started super easy.
- Bolt-On Kit for Circuit Playground
- Soldering is new to me; bolts are easy.

- Hakko Professional Quality 20-30 AWG Wire Strippers
Soldering!
I knew that eventually I am going to need to solder, so I bought this Soldering Iron Kit on Amazon. It’s quite nice, especially for the price!
I have learned that the solder this kit comes with sucks, though. I recommend purchasing this AUSTOR 60-40 Tin Lead Rosin Core Solder as I’ve found it is much more effective at bonding wires.
While you’re at it, you may as well get these items as well:
- AstroAI Multimeter
- I haven’t used this yet, but Adafruit recommends having a multimeter on-hand for all DIY electronics projects.
- 625pcs Clear Heat Shrink Tubing Kit
- For sealing wires together after soldering!
- Mini Heat Gun
- For applying the heat shrink tubing!
- Fermerry 22 AWG Stranded Wire
- Wires for… wiring.
- Do NOT buy single-core wire! It is inflexible and hard to work with… I already made this mistake so you don’t have to.
LEDs: They Work!
Following the Make It Glow – Your First NeoPixel Project tutorial, I quickly brought the LEDs online.
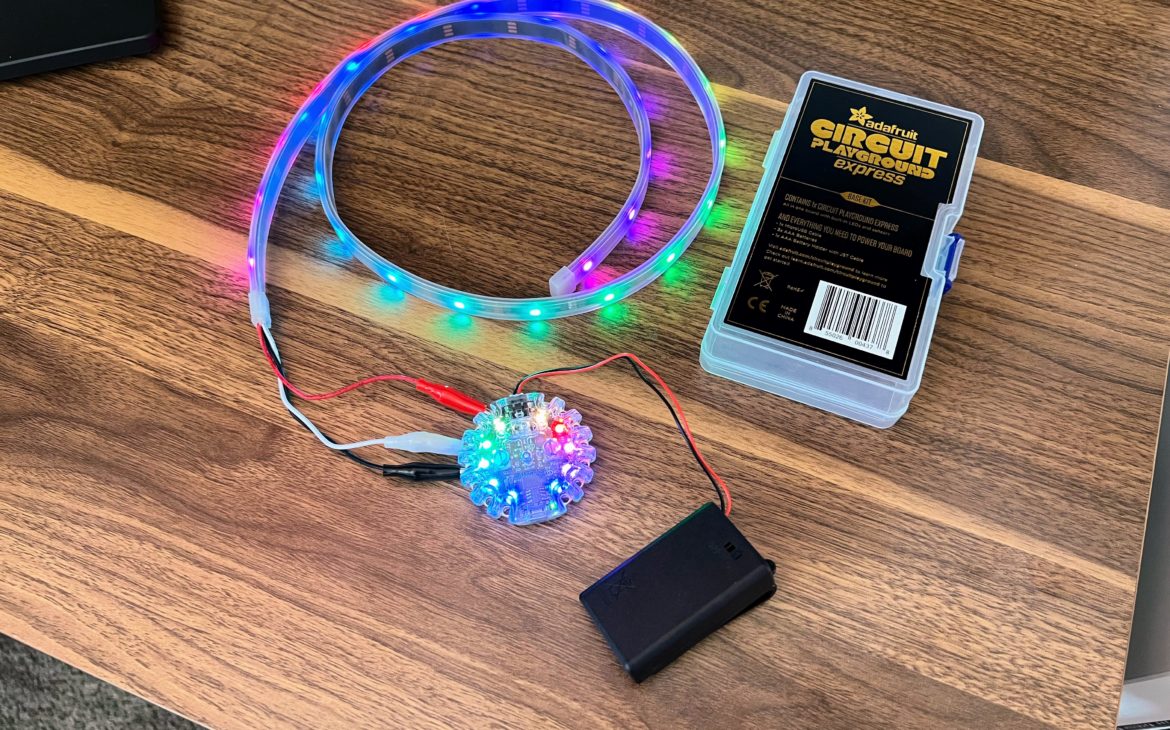
I am excited by how easy this was!
LEDs in My Fur
Next, I wanted to see how these lights look when placed deep into the fur fabric.
I like the way this looks! So far, so good.
Next Steps
With some LEDs in hand & fur going on the bike, I’m ready to get serious about the lighting design of my bike.
In the next post, I’ll detail some of the experiments I’ve done, what I decided to purchase and some of the current challenges I’m working to solve.