
I made a horrible mistake.
When Adobe announced Lightroom CC, I originally was not on board. Like many others, lot of missing features kept me from adopting the service. However, Adobe was quick to act and rapidly brought the new version of Lightroom to a place where I felt that I would enjoy using it.
It was great! The new interface was quick and easy to use; cloud sync was awesome; and I enjoyed adjusting my workflow to be a little more fun-oriented instead of obsessively keeping my catalog organized.
But then….
Soon, editing photos became synonymous with “managing space”.
Part of the problem is that Adobe wants you to run out of space. If you do, you’ll likely be pressured to upgrade your subscription. Cha-ching cash flow for them! Adobe hasn’t published any sort of guide on moving back to Lightroom Classic and in all my research I wasn’t able to find a guide that was written by someone else.
So here we are: A simple, step-by-step guide on moving your photos into Lightroom Classic.
Prerequisites:
• Make sure that you have both Lightroom CC and Lightroom Classic installed.
• Any pictures that you want to migrate must be backed up to Adobe’s cloud
Ready? Let’s go.
1. Open Lightroom Classic and enable “Sync with Lightroom CC”
Click on the your name near the Lightroom logo in the upper right-hand corner. Then, choose to enable syncing with Lightroom CC

2. Accept the scary warning
I got a pop-up window warning me that I could only sync one Lightroom Catalog at a time. Select the option to sync your current catalog anyway, even if it warns you of overwriting things.
3. Allow Lightroom to import your photos
At this point I had nearly 3,000 photos to sync over from Lightroom CC. There are some important notes about this process:
- If you originally imported and backed up your photos using Lightroom CC, your original files will be downloaded and added to Lightroom Classic
- If there are any photos that you originally imported and backed up using Lightroom Classic, Lightroom will only download the Smart Previews that were backed up to the cloud. You will need to have a copy of the originals somewhere
- All photos will be dumped into collections under the “From Lightroom CC” collection set:

- Every single photo will be dumped into a single folder:

4. Organize your photos
At this point you need to re-organize all of the downloaded photos according to how you like them. You can leave them in the Mobile Downloads.lrdata location, but I think it’s better to move them into something a little more structured.
I strongly recommend using Lightroom to move your photos into different folders.
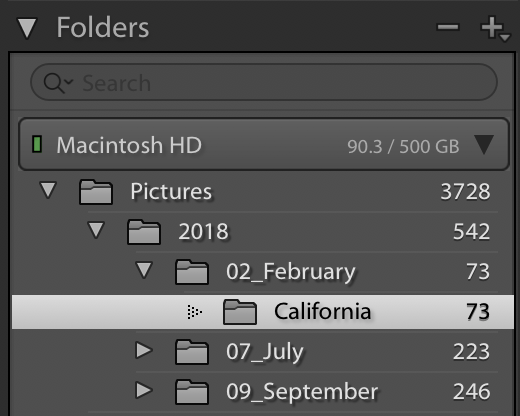
For example, I want to move my California vacation photos into my folder …\Pictures\2018\02_February\California. Use the ‘Folders’ section in the left sidebar to create your directory structure:
Then, open the ‘California’ collection under the “From Lightroom CC” collection set. Select all of the images you want to move, then click and drag them into your newly created folder. Accept the warning message:

This will move all the photos on your hard drive and update Lightroom’s catalog to ensure it knows where they reside.
5. Create your new collections
Lightroom won’t let you move the synced collection out of the “From Lightroom CC” collection set, so if you want to have your collections more organize you have to recreate them. In my case, I wanted to move my photos into a new collection.
Create the new collection and add your photos.

Now you can un-check the sync icon to clear up some space…
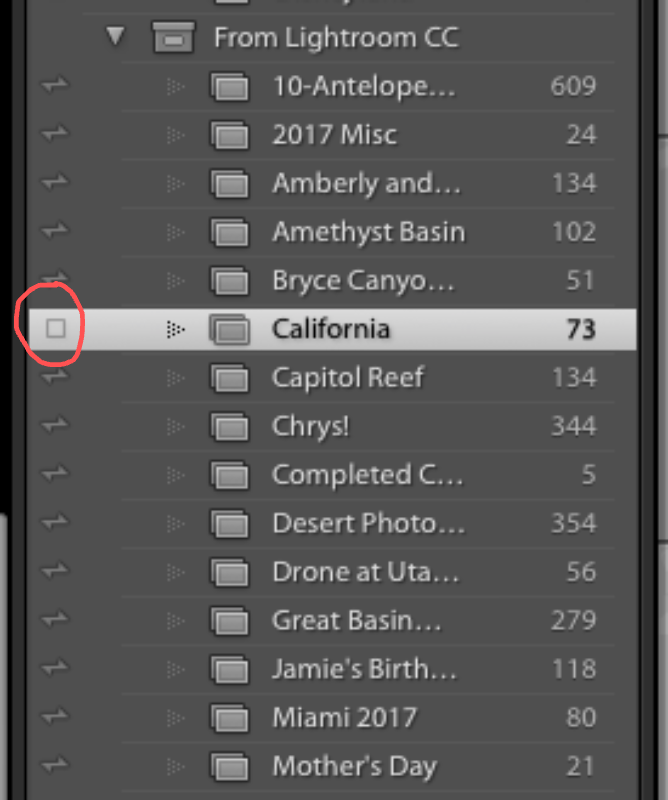
Warning: If you don’t disable sync, you could accidentally delete your photos.
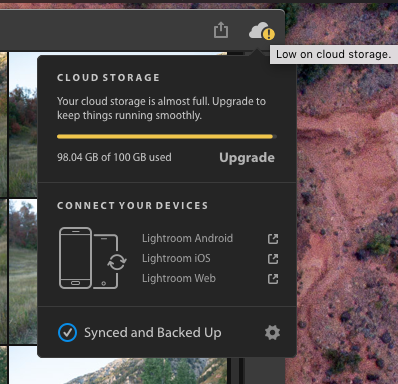
Let the sync complete and you should have some more free space in the cloud.
HAHA PSYCH!
This doesn’t actually remove them from the cloud as you’d expect! You have to pivot back to Lightroom CC to finish the clean up.
6. Clear up some space
Switch back to Lightroom CC and find your photos. You’ll find that the album where they used to reside is mysteriously missing…

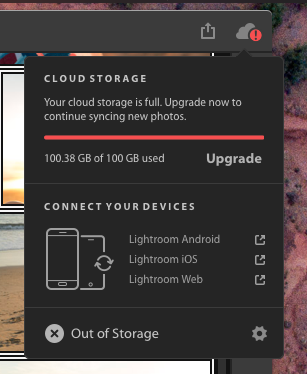
And yet, you haven’t cleared up any space.
Unfortunately the photos are still in your library, they are just hard to find. Go to All Photos in Lightroom CC and find the photos you are working with.

Select the photos, then smash that delete button. Ignore the scary warning, your photos are safe (so long as you followed all of the previous steps.)

7. Rejoice, and enjoy the breathing room
You did it! You successfully migrated a Lightroom CC album back into Lightroom Classic.
Now you can repeat this step for each album that you want to move into your Classic library. Once you’ve migrated your entire library, you have the ability to pick and choose which collections you want to sync back to the cloud.
For me, this flexibility is everything. I don’t need or even necessarily want to have my year-old photos available on all devices all the time. Give me the ability to choose which photos I keep backed up and which ones I leave in my local library.
If Adobe ever gives the ability to be selective about which photos get backed up then I will likely switch back to Lightroom CC. I honestly do like the new interface — a lot. But I can’t justify spending a ton of money every month to keep everything backed up the way Adobe wants me to. Alas, I doubt they will ever give us that functionality, since I believe they want frustrated users like me to just give up and start coughing up the dough.
I hope you found this tutorial useful. Let me know in the comments if you have any questions or suggestions on how to improve this process!